

Mousy Pancake & Strawberry Milkshake

Pancake Ingredients

  • 70g self raising flour
  • 10g oil
  • 30g sugar
  • 1 egg
  • 50ml milk
  • 3 fresh strawberries
  • 10g white chocolate sauce
  • 5g dark chocolate sauce
  • 40g maple syrup

Milkshake

Ingredients

  • 30g strawberry milkshake powder
  • 30g frosting powder
  • 3g jimmies sprinkles
  • 1x straw

MAKE PANCAKE BATTER

1) Whisk 1 egg + 50ml milk in mixing bowl
2) Add oil + sugar, mix
3) Add flour, mix
 
PREHEAT COOKING PAN LOW HEAT
 

COOK PANCAKES

 
4) Scoop pancake batter using spoon into pan, make mouse shape
5) Wait until the batter looks half solid and bubbles, then check the bottom for golden color
6) Flip the pancake carefully, wait until fully cooks
7) Repeat the steps to make 2 other pancakes
 

MAKE FROSTING

8) Frosting powder + 30g water in cup. Mix then put in chiller 10 mins
 

CUT STRAWBERRIES (for pancake later)

9) Cut 3 strawberries in half
 

MAKE STRAWBERRY MILKSHAKE

10) Milkshake powder + 60ml water in champagne cup, stir with ice cream stick
11) Take out frosting from chiller, mix vigorously, add into piping bag
12) Add 2 ice cubes into milkshake
13) Pipe frosting on top of the milkshake in a swirling motion
14) Sprinkle jimmies, add straw
 

DECORATE PANCAKE


15) Pipe white chocolate sauce on the mouse face
16) Draw the eyes and nose using dark chocolate sauce
17) (optional) Use 2 halves of strawberry to make minnie ribbon
18) Place maple syrup inside the takeaway box
19) Place cut strawberries


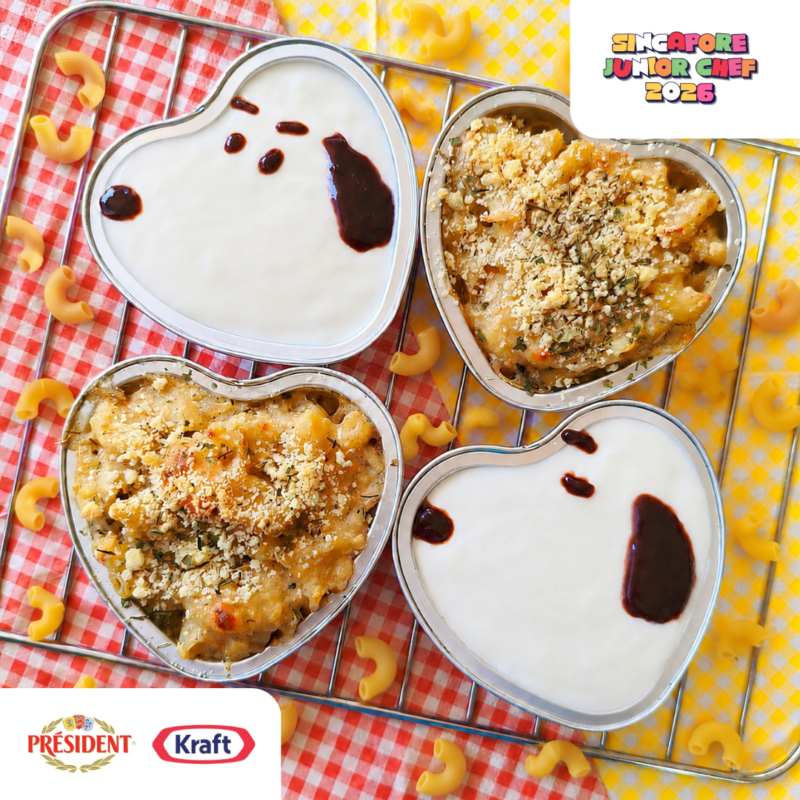
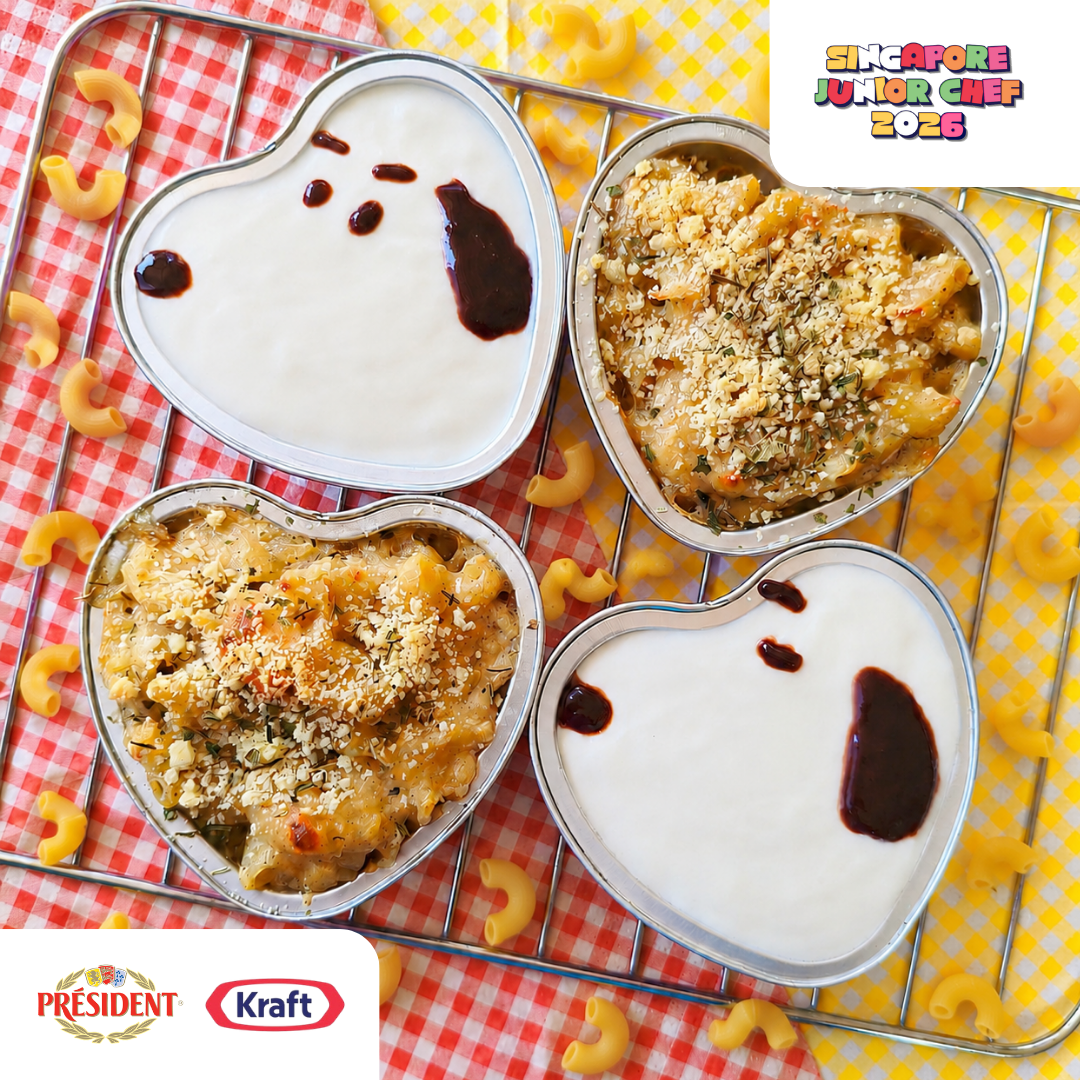
Mac n Cheese & Oreo Cheesecake Snoopy Inspired

Mac N Cheese Ingredients

  • 50g elbow macaroni
  • 50g hredded cheddar
  • 15g shredded mozzarella
  • 60ml milk
  • 10g parmesan powder
  • salt and pepper
  • garlic powder
  • onion powder
  • parsley
  • 2x heart shaped liners

Cheesecake Ingredients

  • 40g oreo crumbs
  • 45g frosting powder
  • 30g creamcheese
  • 10g chocolate sauce
  • 2x heart shaped liners

COOK MACARONI

1) Macaroni + 200ml water in rice cooker. Cook 20 mins)
 

MAKE CHEESECAKE

 
2) Frosting powder + 60ml water in cup. Mix with whisk and put in chiller 10 mins
3) Oreo crumbs into 2 heart liners
4) Take out frosting from chiller. whisk vigorously, add cream cheese, whisk again.
5) Pour cream mixture into both liners, spread evenly with wooden stirrer.
6) Put into freezer
 

MAKE MAC N CHEESE

 
7) Set rice cooker to warm
8) 60ml milk + cheddar + mozzarella into rice cooker, mix until everything melts
9) Add a pinch of salt and pepper
10) 1/4 tsp garlic powder + 1/4 tsp onion powder, stir.
11) Scoop mac n cheese into 2 heart liners, sprinkle some parmesan
 
OVEN FOR 10 MINS 250 DEGREES


DECORATE CHEESE CAKE

12) Take out cheesecake, draw snoopy face with dark chocolate sauce
 
13) Sprinkle parsley on the mac n cheese


Minion Inspired Croquette and Rice Balls

Croquette Ingredients

  • 90g mashed potato
  • 2g onion powder
  • 2g garlic powder
  • 15g corn kernels
  • 10g corn flour
  • 10g corn flour
  • 20g bread crumbs

Rice Ball and Decorations

  • 50g sushi rice
  • 1x crab stick
  • 1x cheese slice
  • 10g black mayo
  • Yellow food coloring
MAKE RICE
 
1) Cook rice using 50g sushi rice + 60ml water + 4 drops yellow food coloring
 
MAKE CROQUETTES 
 
2) Add 1/2 tsp salt + 1/2 tsp pepper + garlic and onion powder + corn flour into mashed potato. Mix them all up together using hand.
3) Add corn kernels into the mashed potatoes, mix.  
 
4) Divide mashed potato into 3. Round them into balls, then flatten. Set aside 1 piece because we will only be using 2.
 
BREADING
 
5) Add 10g flour + 20ml water into a cup. Mix.
6) Pour breadcrumbs in a bowl.
7) Use finger to brush the flour mixture onto the potatoes. Flip to coat all sides.
8) Gently lift the croquettes into the breadcrumbs, coat evenly.
9) Place on airfry liner, air fry for 6 minutes. 
10) After 6 minutes, gently flip the croquettes, then air fry for another 6 minutes.
 
CUT THE CHEESE SLICE
 
11) Use a boba straw to make 6 circles of cheese. This will be minion eyes.
 
MAKE RICE BALLS
 
12) Divide rice into 2, flatten on placemat.
13) Shred crabstick into 2, add on the rice, then use the placemat to help wrap them into flat balls.
 
ASSEMBLING

14) Stick the cheese eyes, and draw the faces using black mayo.


Miffy Inspired Japanese Curry

Cooking Ingredients

  • 50g sushi rice
  • 1 curry block
  • 80g potato
  • 40g peeled and sliced carrots
  • 30g onion
  • 4pcs chicken bites

Decoration Ingredients

  • Lettuce
  • Black Mayo

MAKE RICE

 
1) Cook rice using 50g sushi rice + 60ml water
 

PREPARE CHICKEN BITES AND VEGGIES

 
2) Cook chicken bites in air fryer
3) Start cutting the potatoes into small cubes, and onion into slices.
 

START MAKING CURRY

 
4) Add 120ml water into the cooking pot, turn on medium heat.
5) Add diced potatoes and sliced carrots in. Let it boil for 15 mins. 
 

SHAPING RICE

 
6) Take out rice from the rice cooker
7) Let rice cool down a bit, then add rice into miffy mold, press, then place in the middle of bowl.
 

CONTINUE MAKING CURRY

 
8) Check if the potato is cooked by stabbing it with a fork. if it goes in smoothly then it is cooked.
9) Turn off the heat. Then add 1 curry block into the cooking pot. Stir to melt the block.
 

ASSEMBLY

10) Pour curry in bowl
11) Place miffy rice in the middle
12) arrange lettuce, then add the chicken bites.
13) draw the miffy face using black mayo

Pooh Inspired Brownies Box

Brownie Ingredients

  • 5g egg replacer powder
  • 10g cocoa powder
  • 35g sugar
  • 25g oil
  • 1g butter oil
  • 1g vanilla
  • 34g flour

Decoration Ingredients

  • 18g oreo crumbs
  • 60g frosting powder 
  • 10g yellow fondant
  • 4g dark chocolate sauce

MAKE BROWNIE

Preheat Oven 180 Degrees
1) Add egg replacer powder + cocoa powder + sugar into mixing bowl.
2) Add oil + butter oil + vanilla then mix. Add 20ml water, mix again.
3) Add flour in and stir well. 
4) Fill the 2 rectangle liners with the batter equally.
 
Bake for 15 mins
 

MAKE FROSTING

 
5) Add frosting powder + 75ml water + 2 drops yellow food coloring in cup. Mix then put into chiller for 10 mins
 

MAKE FONDANT EARS

 
6) Divide yellow fondant into 2 balls. Flatten them to make ears.
 
7) Take out frosting from chiller, stir vigorously.
 

ASSEMBLY


8) Pour the brownies into the cookie box. Wear gloves, then push the brownie down to make it even and solid
9) Pour oreo crumbs on top of the brownie
10) Pour the frosting into the cookie box, spread using wooden stirrer, make the surface neat
11) Place the fondant ears and draw the pooh face using chocolate pen
                  

August Knead To Know Newsletter

On this Knead to Know News, we’re celebrating the spirit of National Day! A heartfelt thank you to every baker who has joined us in our Bake Studio and been part of our journey.

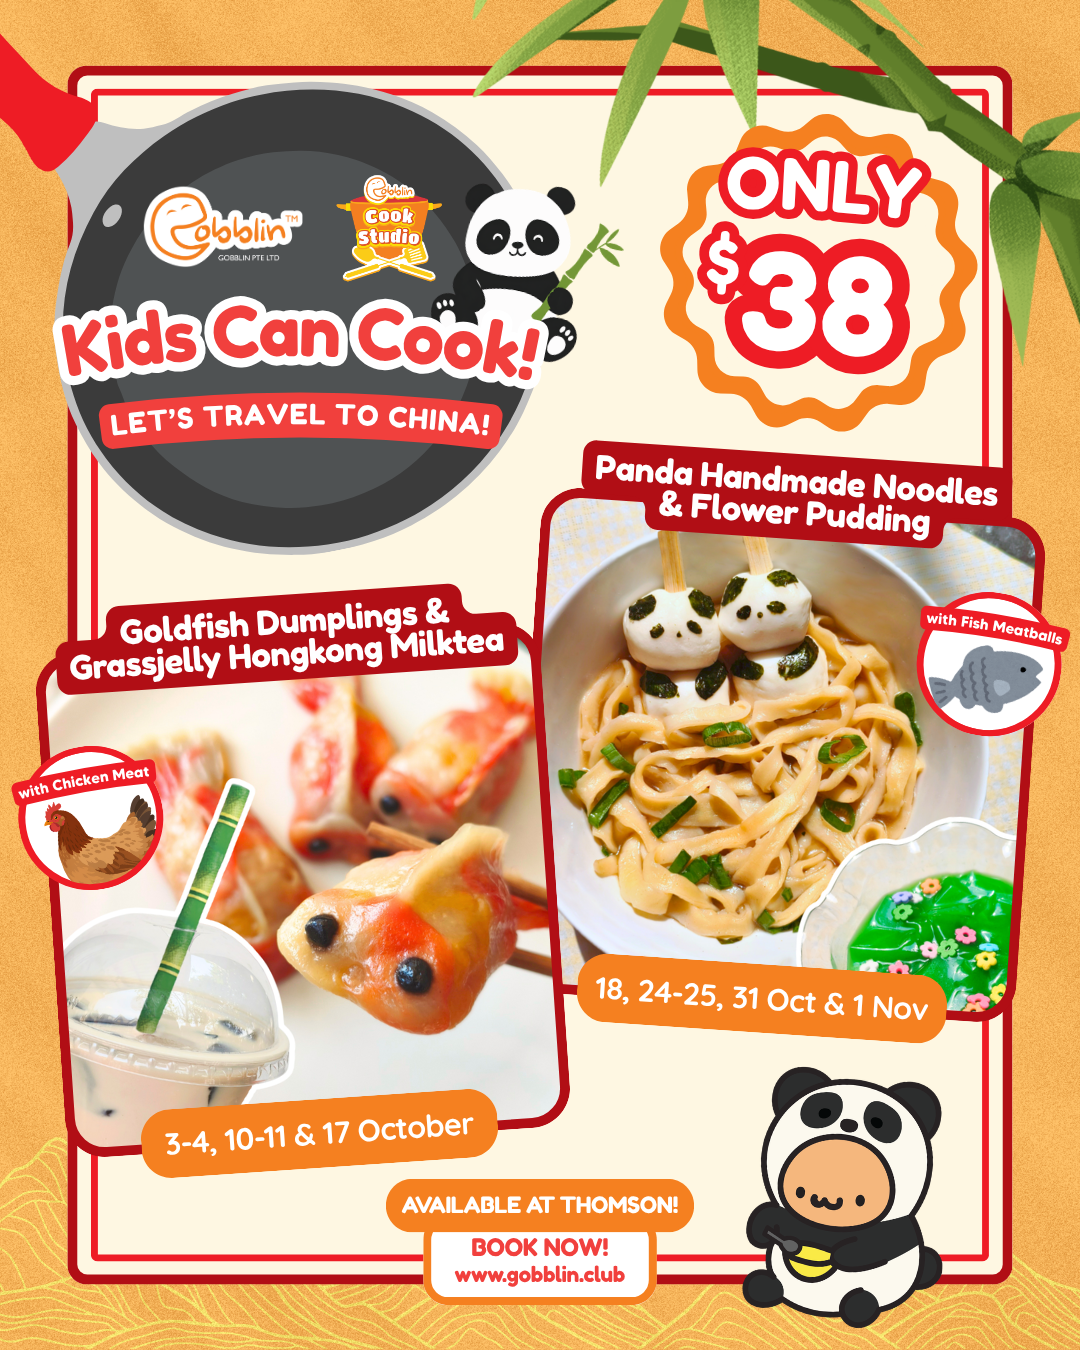
This month, we’re turning up the heat with an exciting new addition to Gobblin Club. Our brand-new Cook Studio is now open at Thomson! Whether you’re a seasoned home cook or just looking to spice things up, we can’t wait to cook up something amazing with you!

Breaking News!

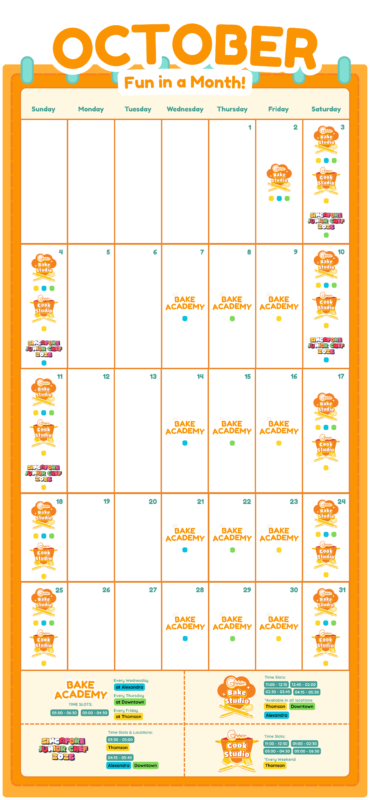
Monthly Calendar

Something exciting awaits every week, check out this month’s lineup!

See Calendar

NDP Special!

Celebrate the National Day with a special baking class!

Available in all outlets: 8-10 August

Book Now!

We are 5!

Join our 5th Anniversary Special Contest.

Don’t miss it out!

Read me!

Meet Sir Crumbsy!

Hosting this month issue of the Knead to Know series is… Sir Crumbsy! 

Sir Crumbsy says...

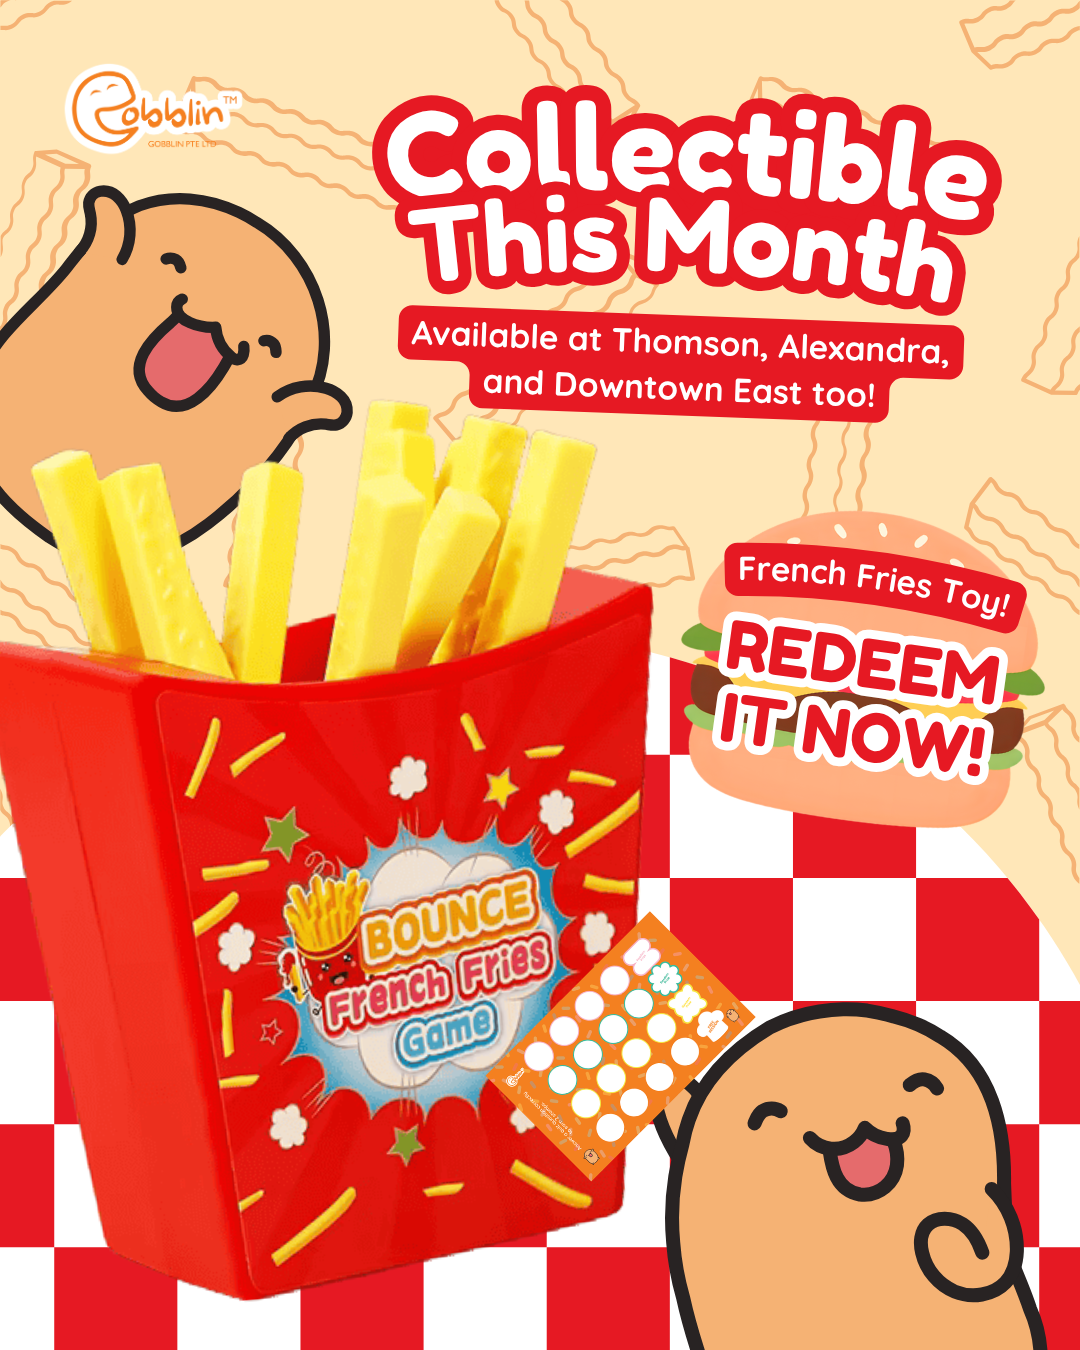
The gift this month:

Answer a quiz in one of our class and collect 5 stamps to exchange for a special gift!

NEW COOKING CLASS!

Join our new addition class!

Available only at Thomson


🎈It’s our party and you’re invited! 🥳

A joyful month of celebrations at Gobblin! Starting 5 years ago with a DIY Baking Kit, we now have 3 Bake Studios to invite you all into our own mini kitchens!

Terms & Conditions Applied
  • No purchase is required to join this contest.
  • While submitting a picture make sure your face & creation is visible in the picture.
  • By submitting an entry, you grant permission for your Gobblin artwork and submitted photo to be featured on our social media channels, website, and or promotional materials.
Download Template

Create a new Gobblin and get to win $488!

Stand a chance to walk away with $388 worth of Gobblin credits and a Kenwood Handheld Mixer (total value $488)!

HOW TO JOIN

  • No purchase required
  • Visit any of our outlets and collect the printed colouring sheet or download the print-at-home.
  • Submit your entries via QR code (to our google form).

Submissions close on
24 August 2026

August Calendar!

Discover everything we’ve got lined up for the month
Hosting our second issue of the Knead to Know series is… Sir Crumbsy! He is the head chef of all the gobblins. With his white fluffy moustache, he can make unlimited whipped cream! He can squeeze, swirl, and sprinkle it on anything to help solve sticky baking problems.

This month, we’re going on a chewy, stretchy adventure to explore one of my favorite ingredients… glutinous rice flour!

Glutinous rice flour is the secret behind to many delicious goodies, from mochi and rice balls to chewy cakes and fun little dumplings. It may sound fancy, but it’s simply made by grinding special sticky rice into a fine, white flour!

Did you know? Even though it’s called glutinous rice flour, it doesn’t contain gluten at all! The name comes from the way it becomes wonderfully sticky and stretchy when it’s cooked. That’s what gives your favorite treats their fun, chewy texture!

Want an easy baking tip? Mix your glutinous rice flour slowly with liquid and stir well until it’s smooth. This helps prevent little lumps, so your treats turn out soft, silky, and extra delicious. Now that’s a clever little kitchen trick!

Nailong Inspired Mini Cake + Canoli Cones

Cake Ingredients

  • 30g sugar
  • 3g egg replacer powder
  • 2.5g baking powder
  • 60g flour
  • 30g oil
  • 3g vanilla

Decoration

Ingredients

  • 60g frosting powder
  • 15g frosting powder
  • 20g custard powder
  • 20g yellow fondant
  • 5g green fondant
  • 3g rainbow dot sprinkles
  • 5g chocolate sauce
  • 1x ice cream cone
PREHEAT OVEN 180 DEGREE
 

MAKE CAKE BATTER

1) Add egg replacer powder + sugar + sponge gel and 75ml of water into mixing bowl. Whisk vigorously to create bubbles.                                
2) Add flour and baking powder and whisk it in well.                                
3) Add oil + vanilla and whisk it well. 
4) Pour into 2 liners equally. 
 
BAKE FOR 15-18 MINS   


MAKE FROSTING

5) Add 60g Frosting powder + 60ml water in cup. Mix.
6) Add 15g frosting powder + custard powder + 65ml water in another cup. Mix. Chill both cups in chiller for 10 mins.
 

MAKE FONDANT

7) make yellow fondant head and green eyes.
8) Arrange the eyes and blush (use pink dot sprinkles) on top of the yellow nailong head. 
9) Draw pupils on the green fondant using dark chocolate pen.
10) Add the eye shine using white dot sprinkles
 
11) Take out both frostings from chiller. Stir vigorously then add the custard one into piping bag.
 

ASSEMBLE CANOLI CONE


12) Pipe custard frosting into the cone with a swirling motion. Add the leftover rainbow dot sprinkles on top. (do not use all sprinkles, will use it again for the cake)


ASSEMBLY

 
12) Spread a small dollop of frosting on cake box base using stirrer. Place the first layer of the cake on top.
13) Spread frosting on top of the cake, spread the frosting using stirrer.
14) Place the second layer of the cake. Then spread the remaining frosting on top of the cake. Spread all around the sides of the cake evenly.
15) Place the nailong fondant head. Then add leftover sprinkles on the frosting.
16) Draw the mouth using dark chocolate sauce

Elephant Cookies + Festive Choco Sticks

Cupcake Ingredients

  • 30g butter 
  • 26g corn syrup 
  • 26g corn flour 
  • 44g plain flour 
  • vanilla

Decoration Ingredients

  • 5g yellow fondant
  • 3g mixed sprinkles
  • 5g dark chocolate sauce
  • 5g pink chocolate sauce
  • 6x stick biscuits
  • 30g blue compound chocolate
  • 30g white compound chocolate

MAKE DOUGH

 
1) Add butter + corn syrup + 2 drops vanilla + 1 drop bluecoloring in mixing bowl. Mix.
2) Add corn flour + plain flour. Mix.
3) Place dough on placemat. Wear gloves, knead until thoroughly mixed.
 
PREHEAT OVEN 180 DEGREES
 

SHAPING

 
4) Divide dough into 4 balls. Spare some dough from each balls to make elephant trunk and ears 
5) Make the elephant head using remaining doughs.
6) Stick the ears and trunk on the head dough.
 
BAKE FOR 12 MINS
 

MAKE FONDANT HATS

 
7) Divide yellow fondant into 4, make 4 yellow hats
 

DECORATE CHOCOSTICKS

 
8) Pour melted chocolate on the sticks. Use the pool of excess chocolate on the placemat to coat all the sides of the sticks.
9) Add sprinkles while still wet.
 

DECORATE COOKIES


10) Stick the fondant hats on top of the elephant heads using chocolate sauce
11) Draw the eyes and blush using dark and pink chocolate sauces.


Minini Inspired Cookies + Mango Pudding

Ingredients

  • 30g butter 
  • 26g corn syrup
  • 26g corn flour 
  • 44g plain flour 
  • 30g mango instant pudding powder

Decorations

  • 4pcs pink chocolate buttons
  • 2pcs orange chocolate buttons
  • 5g dark chocolate sauce

MAKE PUDDING

1) Add pudding powder + 160ml hot water into cup. Mix then pour into 2 pudding cups. Chill in chiller.


MAKE DOUGH

 
2) Add butter + corn syrup + 2 drops vanilla in mixing bowl. Mix well
3) Add corn flour + plain flour in mixing bowl. Mix well then knead on placemat
 

ADDING COLOR

 
4) Roll dough into a 12 cm tube. Cut 2cm off the dough.
5) Add 1 drop pink coloring on the 2cm dough. Knead to mix in the color.
6) Add 1 drop green coloring on the remaining dough. Knead to mix in the color.
 
PREHEAT OVEN 180 DEGREE
 

SHAPING

 
7) Roll green dough into a tube. Divide into 4. Ttake small amounts of each green dough to make ball shaped hands for later.
8) Shape the cookie doughs to make frog heads
9) Make frog blush using pink cookie dough
10) Arrange the blush and hands on top of the frog.
 
BAKE FOR 13 MINS


DECORATE THE PUDDING

11) Insert the orange chocolate buttons into the middle of the pudding (for the beak)
12) Place pink chocolate buttons for the blush
13) Draw the eyes using dark chocolate sauce


COOKIE DECORATING

14) Draw the frog face using dark chocolate sauce

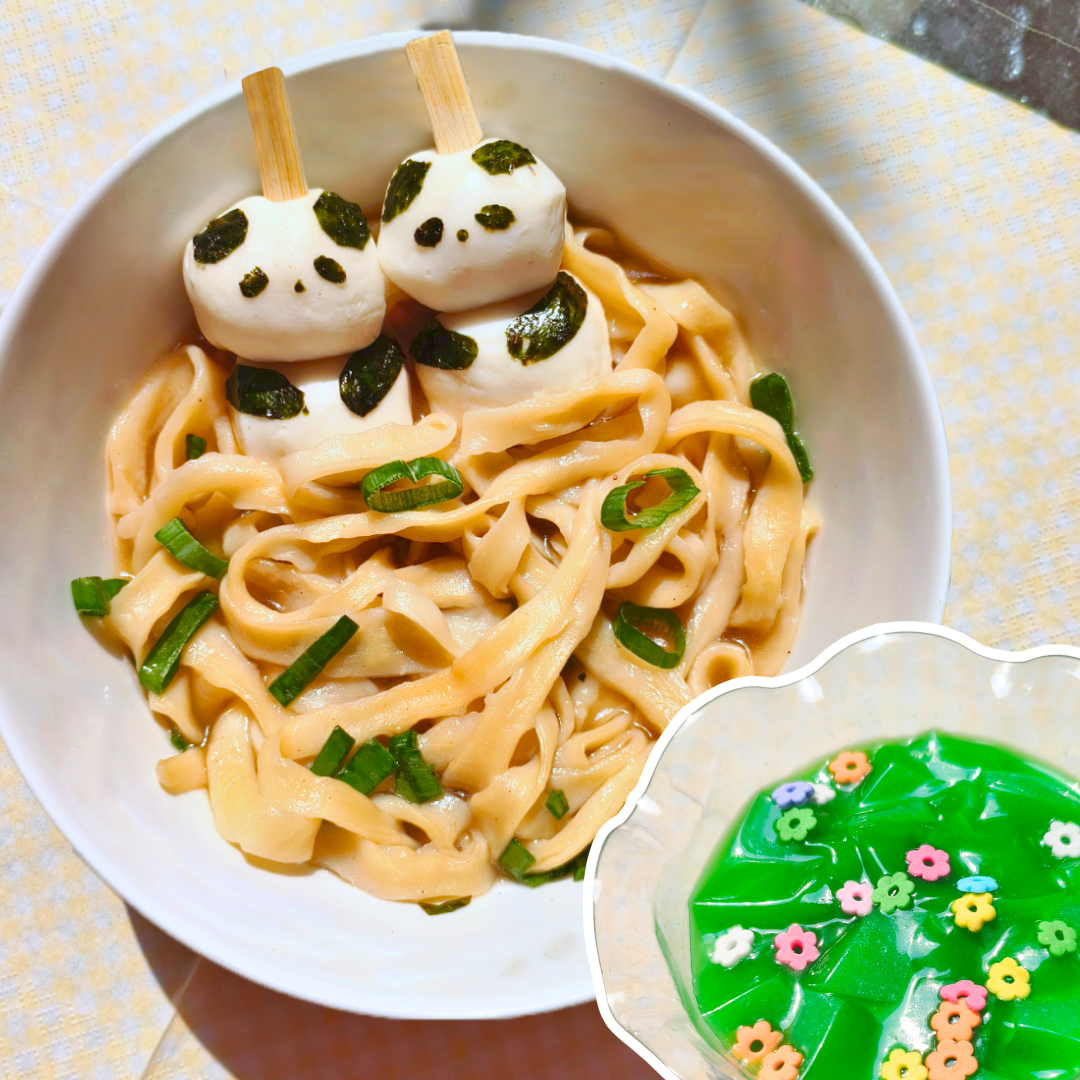
Panda Madeleines + Bamboo Wafers

Madeleine Ingredients

  • 2g egg replacer
  • 20g sugar 
  • 20g butter
  • 40g flour
  • 1.5g baking powder
  • 3g cocoa powder
  • vanilla

Decoration

  • 10g black fondant
  • 5g green fondant
  • 5g dark chocolate sauce
  • 10g green chocolate sauce pen
  • 1.5g white ball sprinkles
  • 3x wafers
  • 30g white compound chocolate
PREHEAT OVEN 180 DEGREES
 

MAKE BATTER

 
1) In a cup, add egg replacer powder + sugar + cocoa powder and 40ml of water, Mix well.
2) Add butter and 2 drops vanilla into mixing bowl.
3) Add flour + baking powder into mixing bowl and stir well to form a crumbly mix.
4) Add half of mixture in the cup into butter mix, mix well. Then add the remaining in and mix well.
5) Transfer batter into piping bag and pipe on the madeleine shell mold.
 
BAKE 180 FOR 15 MINS
 

MAKE PANDA FONDANT

 
6) Make panda features using black fondant
7) Use green fondant to make 10 small teardrop shapes (for bamboo leaves)
 

DECORATE BAMBOO WAFERS

 
8) Coat the surface of wafers with green chocolate sauce
9) Draw outline of bamboos using dark chocolate sauce
10) Stick the bamboo leaves
 

DECORATE MADELEINES


11) Melt the compound chocolate and pour onto the madeleines
12) While chocolate still quite wet, attach the fondant ears, eyes, and nose. Add the white ball sprinkle for panda’s eyes.
13) Place them in the freezer to harden the chocolate a little for 1-2 mins.