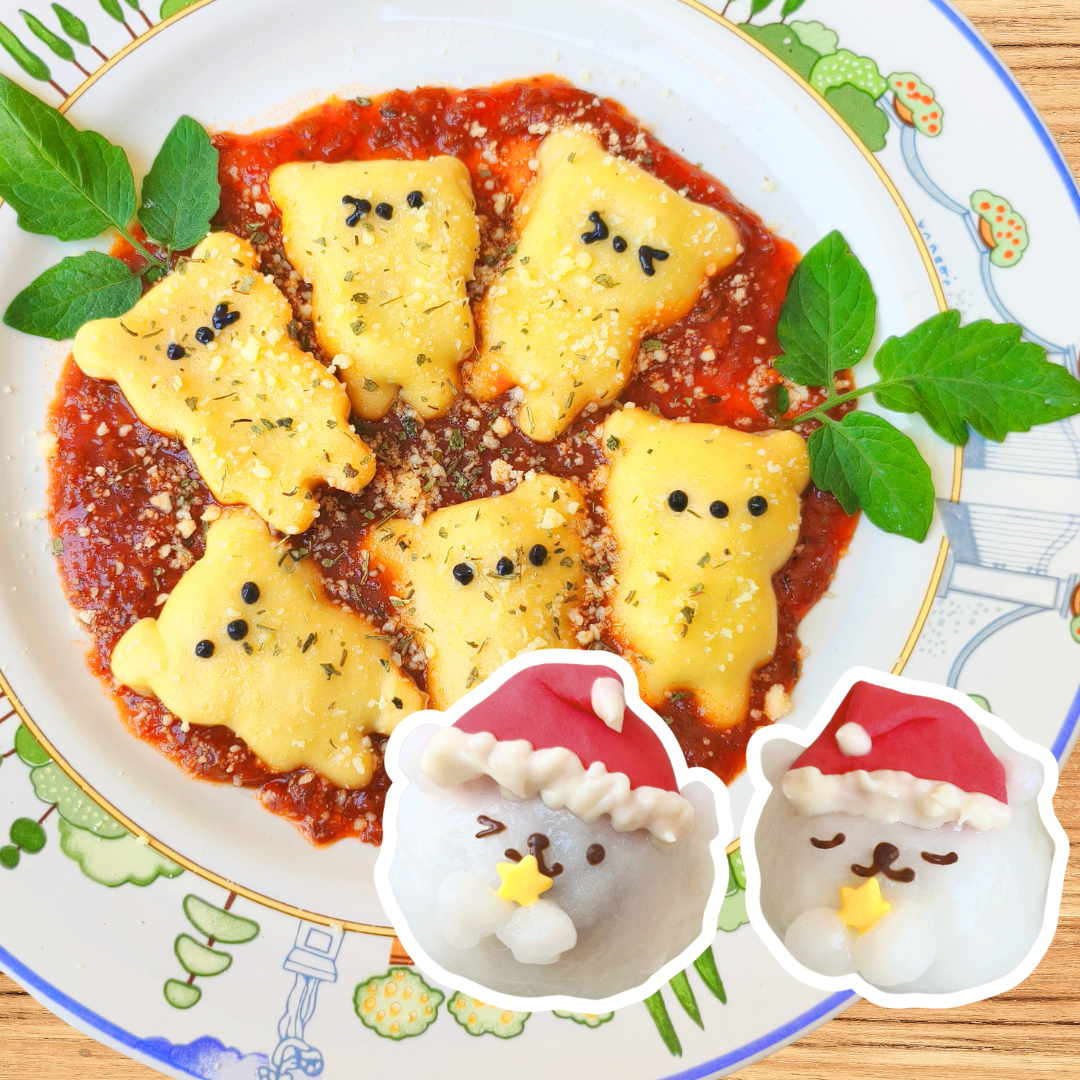

Bear Ravioli and Wishing Bear Mochi

Ravioli Ingredients

  • 100g flour
  • 1 whole egg (or 56g)
  • 40g ricotta cheese
  • 20g parmesan
  • 15g blanched spinach 
  • 100g bolognese
  • 5g black mayo
  • bear cookie cutter

Mochi Ingredients

  • 30g mochi powder
  • 15g red bean paste
  • 10g red fondant
  • 10g white chocolate sauce
  • 5g dark chocolate sauce
  • 1.5g star sprinkles

MAKE DOUGH

1) Add flour into mixing bowl
2) Crack egg into the mixing bowl, mix everything until turns to dough
3) Knead dough on placemat until smooth (wet your hands a little bit if the dough is too dry), then rest dough for 15 mins (cover with the previous mixing bowl)
 

MAKE RICOTTA

4) Chop blanched spinach into tiny pieces, add to the ricotta in a cup
5) Add parmesan, mix.
 

MAKE RAVIOLI (sprinkle a bit of flour on placemat)

6) Roll the dough thinly using rolling pin, make sure it can fit a total of 6 bear shapes (top and bottom)
7) Mark the dough using bear cutter first
8) Scoop ricotta inside the cutter mark
9) Wet the edges of the bear mark with a bit of water, then fold the dough into each other
10) Press the edges to bind the doughs and press the air out
11) Cut using bear cutter
 
BOIL FOR 5 MINS
 

COOK BOLOGNESE


12) Heat up bolognese sauce for 2 mins in pan, then pour into paper bowl
13) Arrange the cooked raviolis on top, then draw the faces using black mayo
 

MAKE MOCHI


14) Add mochi powder + 45ml water in a cup. Mix.
15) Wear gloves then stretch to knead until smooth
16) Divide mochi dough into 2. Take small amounts to make 4 balls each to make hands and ears
17) Divide red bean paste into 2 balls, flatten mochi then insert red bean. Wrap into balls
18) Stick the ears and hands.
19) Divide red fondant into 2, flatten and make triangles. Fold the corner of the triangles in. stick on the bear mochi
20) Decorate using white and dark choco sauce, then stick the star sprinkle.
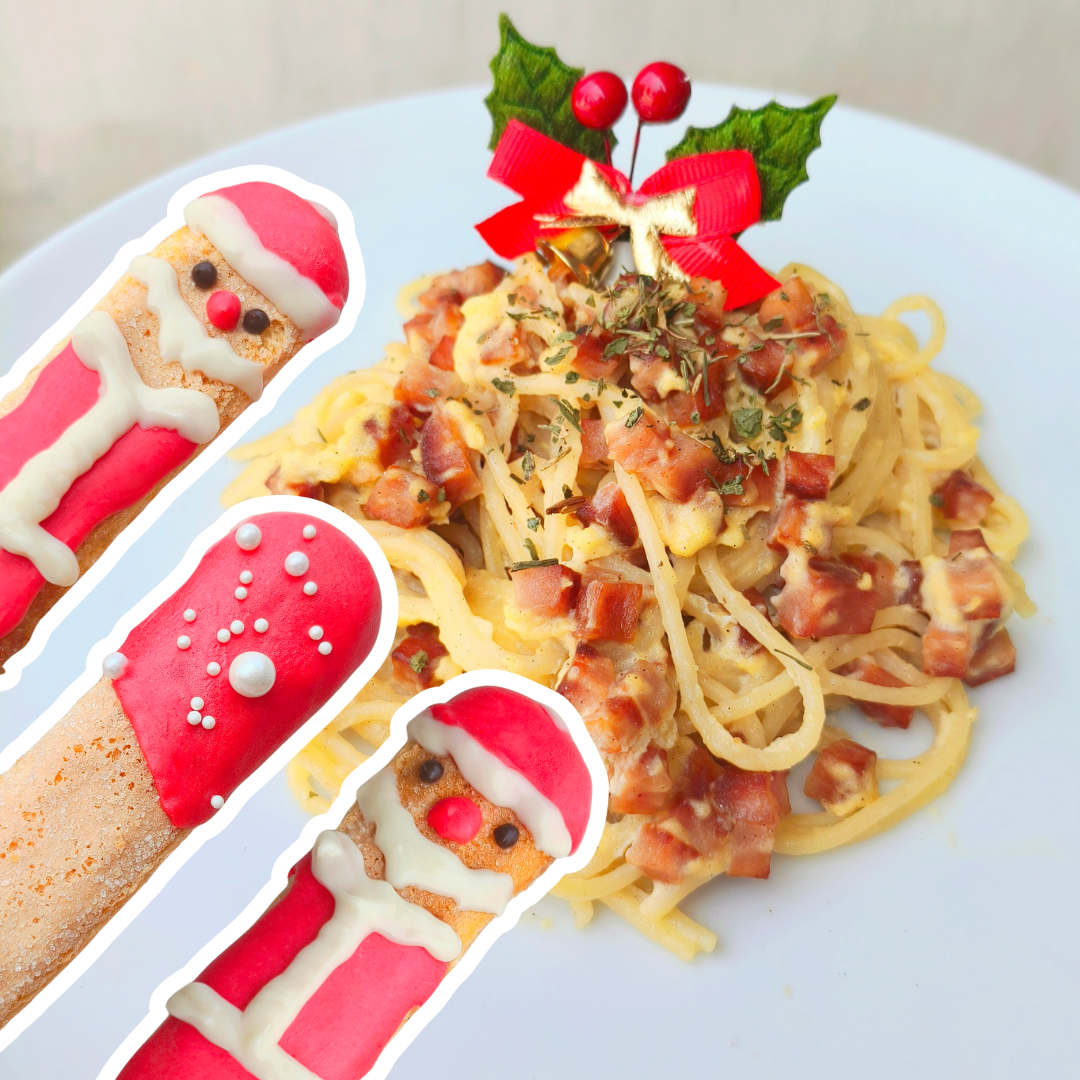
Carbonara Pasta and Santa’s Ladyfingers

Carbonara Ingredients

  • 60g spaghetti
  • 20g parmesan
  • 1 egg
  • 1 chicken ham
  • black pepper
  • xmas topper

Ladyfingers Ingredients

  • 20g red compound chocolate
  • 3pcs ladyfingers
  • 5g dark chocolate sauce
  • 5g white chocolate sauce
  • 1.5g white ball sprinkles

COOK PASTA

1) Boil spaghetti for 10 mins in 400ml water
 

MAKE EGG MIXTURE

2) Separate egg yolk using egg tool
3) Add egg yolk + parmesan + a pinch of black pepper into brown cup, mix everything together
 

CUT CHICKEN HAM

4) Cut chicken ham into small strips
 

MAKE CARBONARA (after spaghetti fully cooks)

5) Add 1 tbsp of cooking oil into pan, sear the chicken strips for 2 mins until caramelized
6) Add the cooked spaghetti and 3 spoonfuls of pasta water
7) Add the egg mixture, then stir for 2 mins until creamy. Add a little bit of pasta water if its too dry.
8) Pour carbonara into bowl, sprinkle parsley and add christmas topper
 

DECORATE LADYFINGERS


9) Coat the top of ladyfingers with melted red compound chocolate following the sample pic
10) Make 2 small red dots for santa’s nose
11) Add white ball sprinkles on one of the ladyfingers
12) Use dark and white chocolate sauce to draw the santa face and white furs

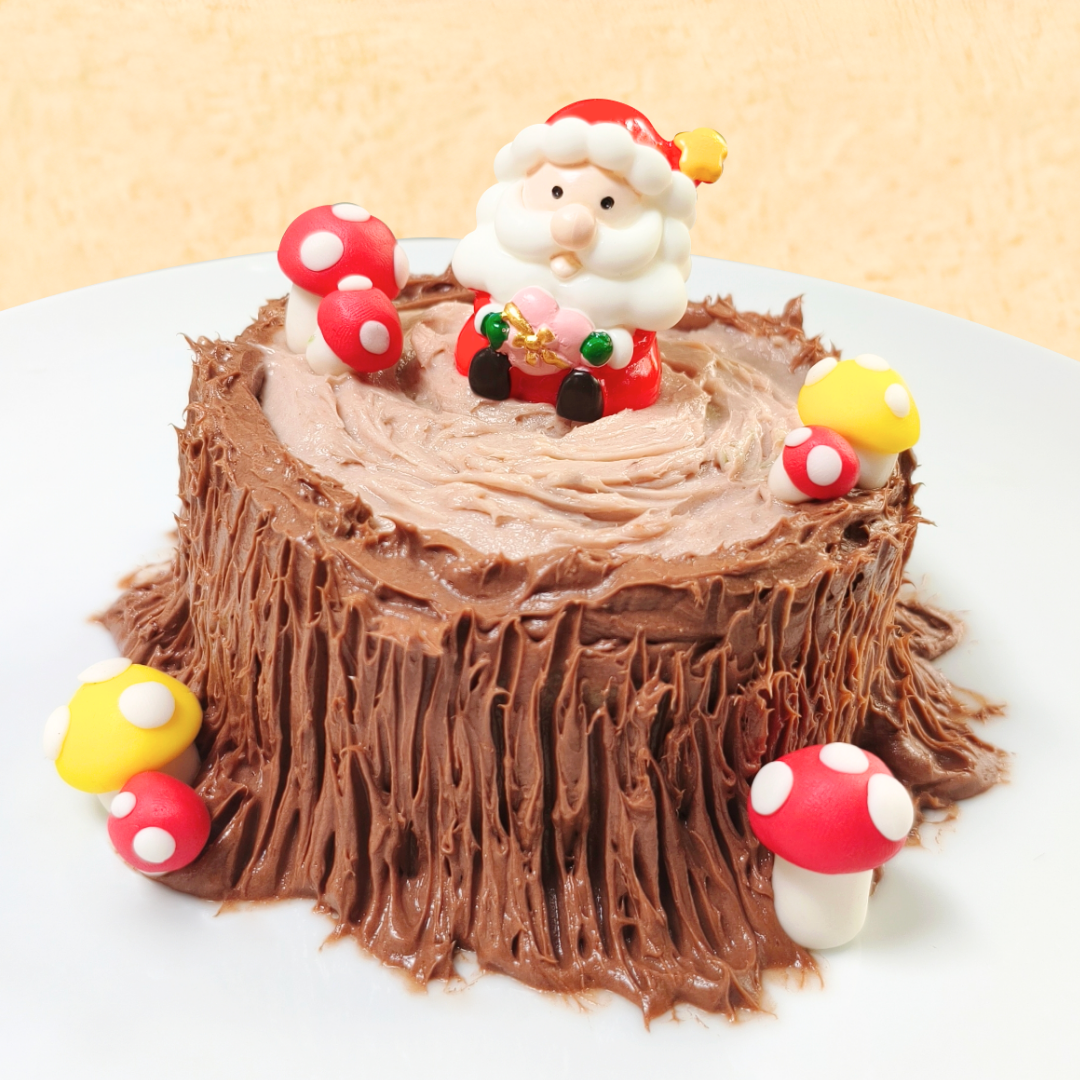
Forest Log Mini Cake

Cake Ingredients

  • 30g sugar
  • 3g egg replacer powder
  • 30g oil
  • 3g vanilla
  • 60g flour
  • 2.5g baking powder
  • 2g sponge gel

Deco

Ingredients

  • 60gfrosting cream powder 60g
  • 2g cocoa powder
  • 10g white fondant
  • 10g red fondant
  • 10g yellow fondant
  • fork
  • santa topper
  • piping bag

MAKE CAKE

1) Add sugar, egg replacer powder and sponge gel and 75ml of water into mixing bowl. Whisk vigorously to create bubbles.
2) Add flour and baking powder and whisk it in well.
3) Add oil and vanilla and whisk it well.
4) Divide into 2 round liners


BAKE FOR 18 MINS ON 180°

MAKE LIGHT BROWN FROSTING

5) Add all frosting powder + 60ml water + half of 1 cocoa powder pack (save the leftover cocoa for later) in a cup
6) Stir well and place into chiller for 10 mins.
 

MAKE FONDANTS

7) Make mushroom heads of different sizes using yellow and red fondants
8) Make dots and mushroom stems using white fondant
9) Stick together to make mushrooms
 

MAKE DARK BROWN FROSTING

10) Take out light brown frosting from chiller. Transfer only a small amount of it into a piping bag.
11) Add the leftover cocoa powder + another cocoa powder pack into the frosting cream in brown cup, stir to mix.
12) Transfer into another piping bag
 

ASSEMBLY

13) Pipe a small dollop of dark brown frosting on cake box base. Place the first layer of the cake on top.
14) pipe frosting on top of the cake, spread the frosting using spatula.
15) Place the second layer of the cake. Then pipe light brown frosting on top of the cake, spread using spatula
16) Pipe dark brown frosting all around the cake, piping to make shape of tree roots
17) Use fork to lightly scratch the dark brown frosting to make tree log texture
18) Arrange the mushrooms and santa topper

Cool Snowyman Choco Breads

Bread Ingredients

  • 70g flour 
  • 20g sugar
  • 8g oil
  • 20g chocochips
  • 2g yeast

Deco

Ingredients

  • 20g pink compound chocolate
  • 20g yellow compound chocolate
  • 5g dark chocolate sauce
  • 10g white chocolate sauce
  • 3g orange chocolate button
  • 10g red fondant
  • 5g white fondant

MAKE BREAD DOUGH

1) Add  water 35ml + sugar + yeast in a cup. Mix then set aside. 
2) Add flour + yeast mixture into mixing bowl. Mix until it becomes dough, then add oil.
3) Knead on placemat
 
PREHEAT OVEN 180 DEGREES
 

SHAPING THE DOUGH

4) Divide doughs into 4 balls, flatten balls on palm, then fill with chocochips. Wrap the chocochips.
5) Arrange the 4 doughs on baking paper separately, no need to stack them on top of each other yet.
 
BAKE for 20 mins
 

MAKE FONDANT


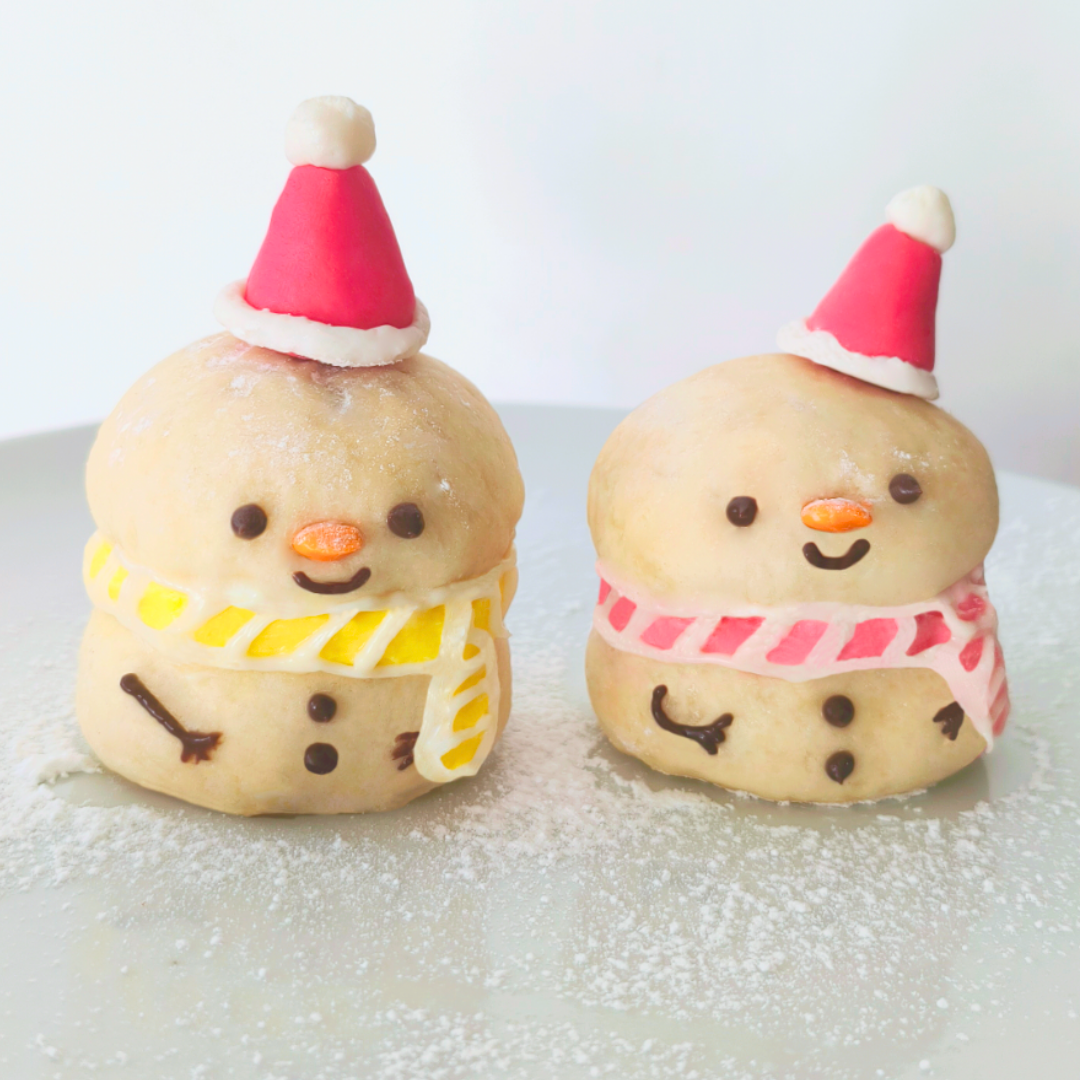
6) Divide red fondant into 2, then make 2 cone shape
7) Make 2 white strips and 2 white fondant balls, attach to the red fondant hats
 

ASSEMBLY


8) After melting compound chocolates, let them cool a bit to let the texture turn like paste
9) Cut corner of the compound bag, then glue the snowman head and body using the compound chocolate
10) Pipe compound all around the neck part of the snowmen to make scarf, then place in freezer for 2 mins until compound sets
11) Draw the scarf stripes pattern using white chocolate pens, and draw the features using dark choco pens
12) Stab the orange chocolate buttons for the nose
13) Glue the xmas hats using chocolate sauce

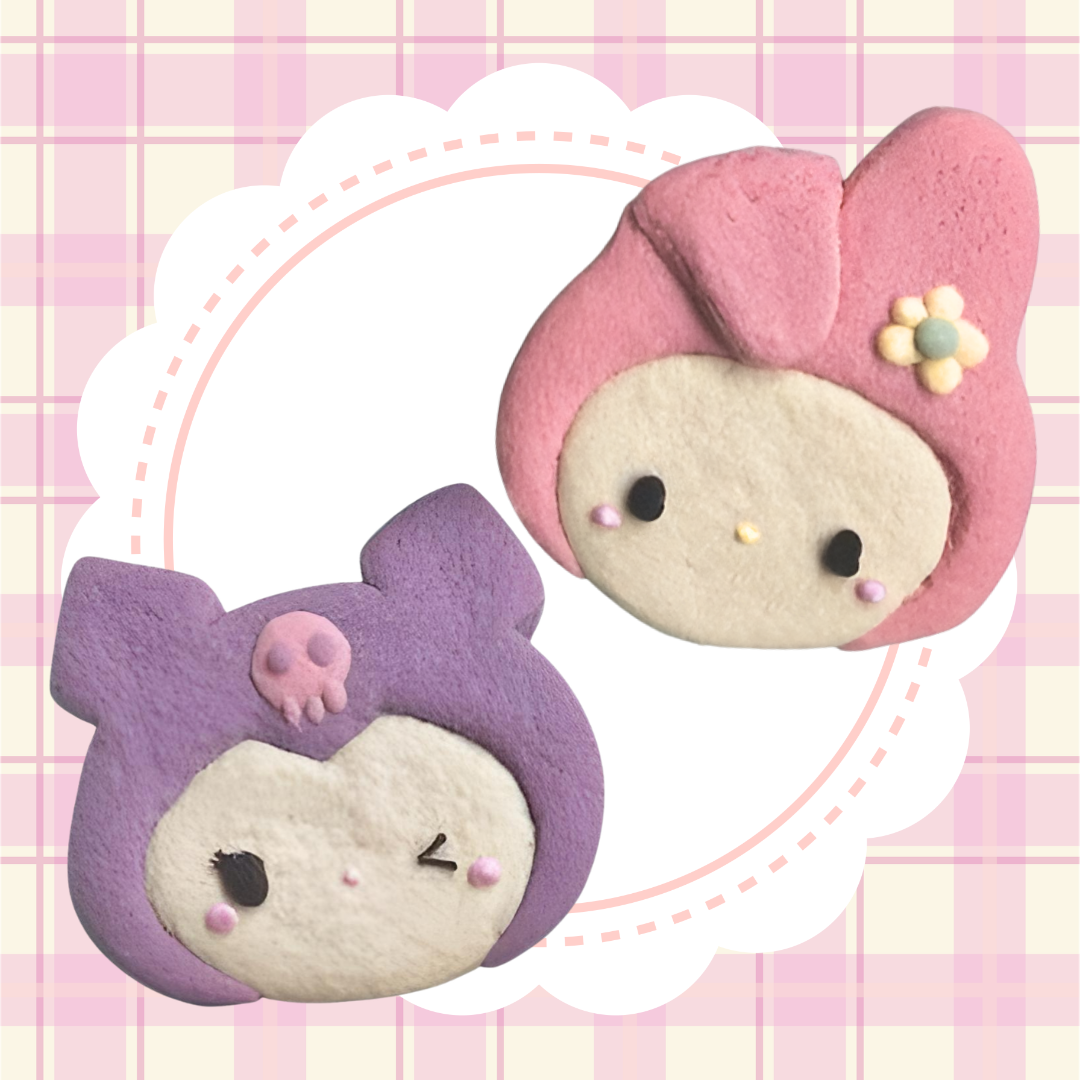
Kuromi Melody Cutie Cookies

Cookie Ingredients

  • 30g butter
  • 26g corn syrup
  • 26g corn flour
  • 44g plain flour 
  • vanilla
  • purple, pink, yellow food coloring

Deco

Ingredients

  • 5g dark chocolate sauce

MAKE DOUGH

1) Add butter + corn syrup + 2 drops vanilla in mixing bowl. Mix well
2) Add corn flour + plain flour in mixing bowl. Mix well then knead on placemat
 
PREHEAT OVEN 180°
 

COLORING AND SHAPING

3) Divide dough into 3 balls. Set aside 1 ball to keep white
4) Color 1 ball with 1 drop purple coloring, and 1 ball with pink coloring. Knead to mix in the colors.
5) Make kuromi and melody heads on baking paper. Use a bit of pink dough to make kuromi’s skull, and a bit of white and purple for melody’s flower.
6) Use toothpick and dip in pink food coloring to draw kuromi’s nose and blush. then use pink for melody’s blush, yellow for her nose.
 
BAKE FOR 13 MINS


DECORATE

7) Draw the eyes using chocolate sauce

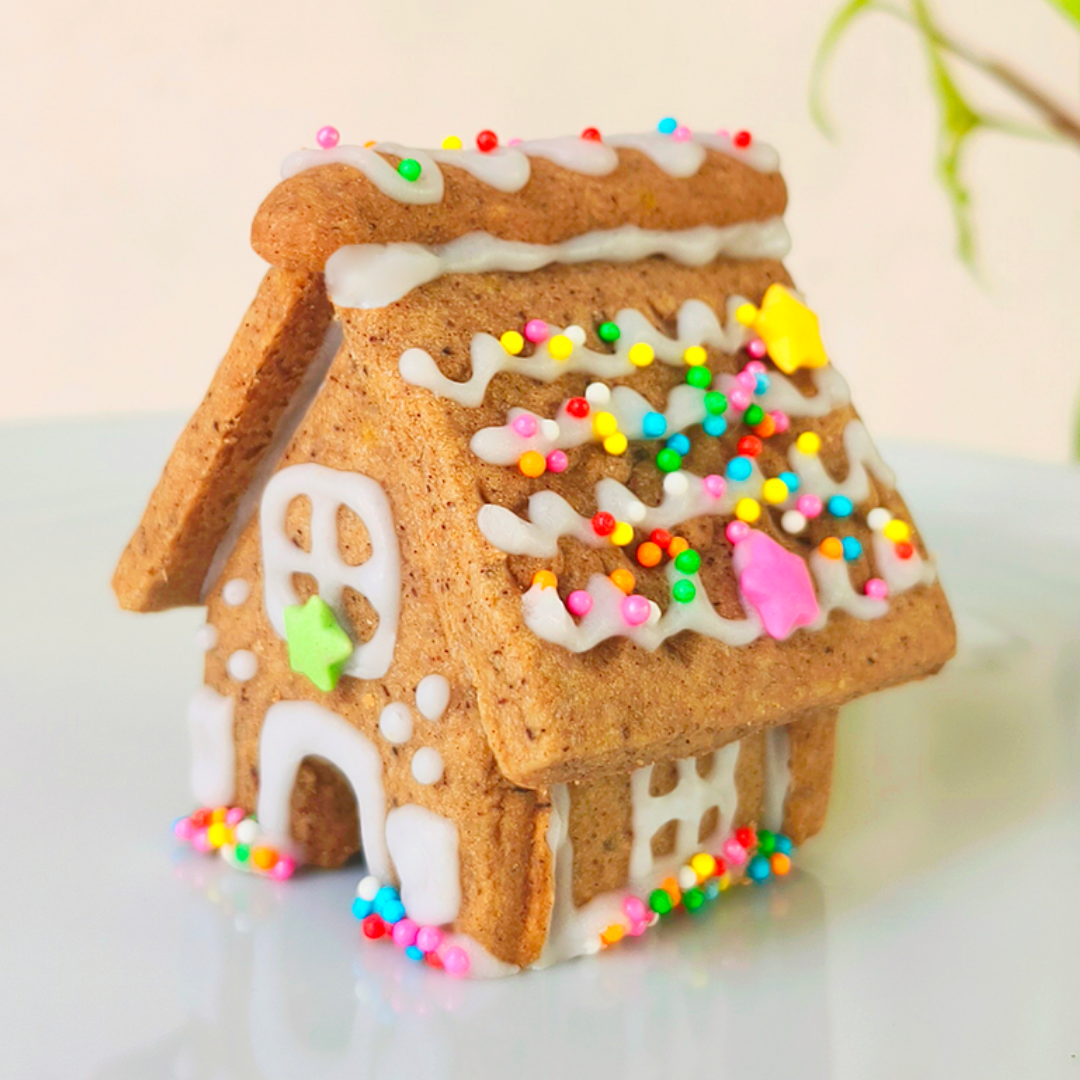
Mini Gingerbread House

Cookie Ingredients

  • 33g butter
  • 10g icing sugar
  • 8g molasses
  • 15g corn flour
  • 33g flour
  • 2g ginger
  • 2g cinnamon
  • 3g brown sugar

Decoration

Ingredients

  • 70g icing sugar
  • 1.5g colorful ball sprinkles
  • 1.5g colorful star sprinkles

MAKE DOUGH

1) Add butter + icing sugar + 2 drops vanilla in mixing bowl. Mix well
2) Add ginger, cinnamon, brown sugar + molasses into mixing bowl. Mix well
3) Add corn flour + plain flour in mixing bowl. Mix well, wear gloves then knead on placemat
 
PREHEAT OVEN 180°
 

SHAPING

4) Divide dough into 5 balls. Flatten doughs on baking paper, then cut using cookie cutter
 
The parts should consist of:
– 2 rectangle roof ( use straw to carve roof pattern)
– 2 square walls ( flatten 1 dough, cut using cutter, then cut in half. Cut a bit of the width to make squares)
– 1 house front ( use cutter to cut the corners, and use straw to poke a door hole )
– 1 house back ( use cutter to cut the corners )
– 1 strip for roof ( use left over dough )
 
BAKE FOR 13 MINS
 

MAKE ICING


5) Add 70g icing sugar + 10ml water + 3 drops white food coloring in a cup, mix, then transfer into piping bag.
 

ASSEMBLY


6) Decorate the cookies to your liking, then wait until icing dries
7) Glue the house front with the walls using icing, wait until half dried, then glue the house’s back part, wait until half dried.
8) Glue the roofs. Wait until dried.
9) Glue the roof strip.

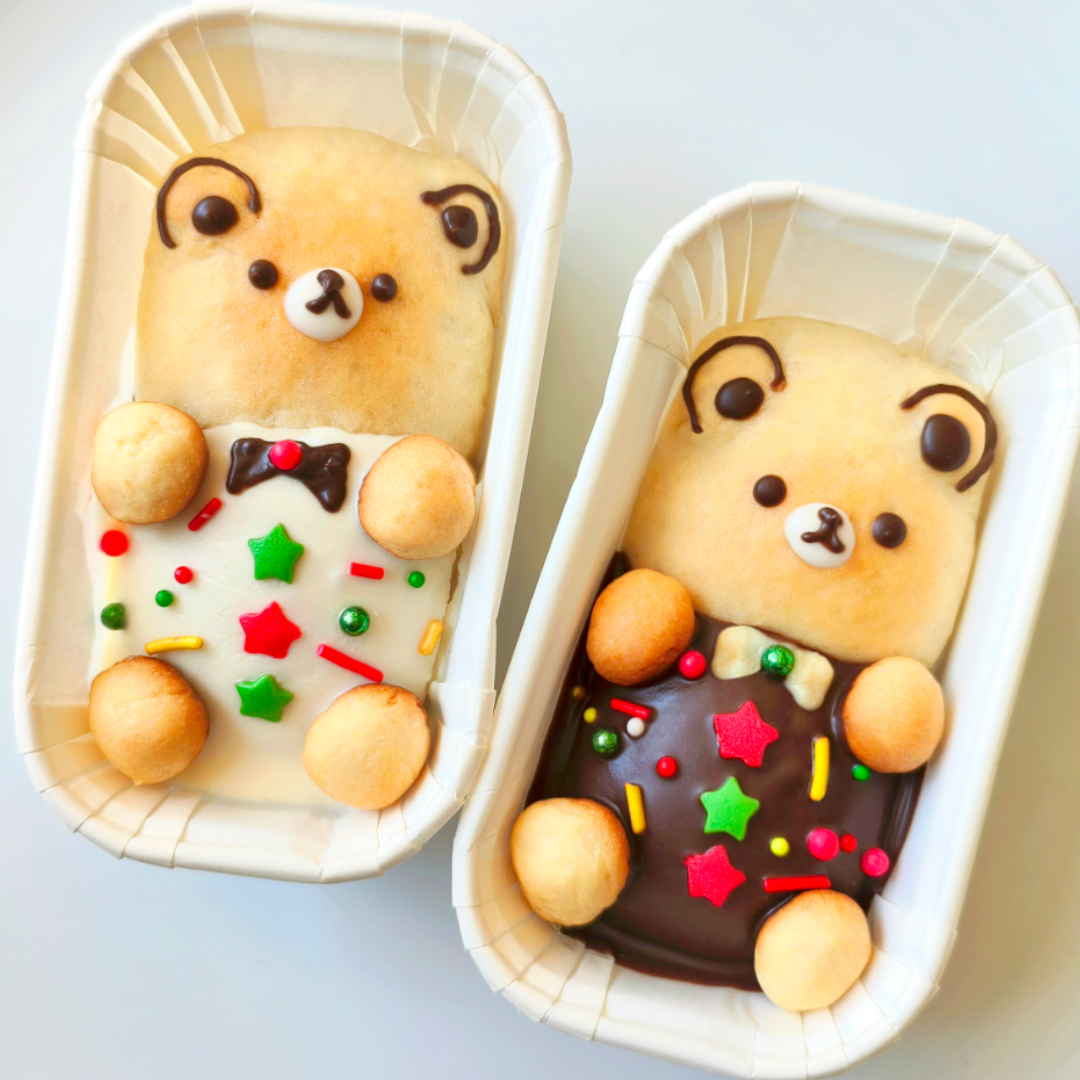
Winter Sweater Bear Cup Buns

Bun Ingredients

  • 70g flour
  • 10g sugar
  • 20g chocochip
  • 2g yeast
  • 10ml milk

Deco

Ingredients

  • 1.5g colorful jimmies sprinkles
  • 1.5g colorful ball sprinkles
  • 1.5g colorful star sprinkles
  • 5g dark chocolate sauce
  • 5g white chocolate sauce
  • 20g white compound chocolate
  • 20g dark compound chocolate

MAKE BREAD DOUGH

 
1) Add water 35ml + sugar + yeast in a cup. Mix then set aside. 
2) Add flour + yeast mixture into mixing bowl. Mix until it becomes dough, then add oil.
3) Knead on placemat
 
PREHEAT OVEN 180 DEGREES
 

SHAPING THE DOUGH

 
4) Divide dough into 2. Then divide each doughs into head part and body part
5) Take a small amount of each doughs to make 4 balls (for the bear feet)
6) Place the bear feet on baking paper (they are NOT placed on top of the bears)
7) Flatten the head and body doughs, fill with chocochips, then round into balls
8) Arrange head and body inside rectangle liners, brush with milk using finger
 
BAKE for 20 mins
 
DECORATE

9) Pour melted chocolate compound on the bear body
10) Arrange the feet
11) Add the sprinkles
12) Draw the face using chocolate sauce

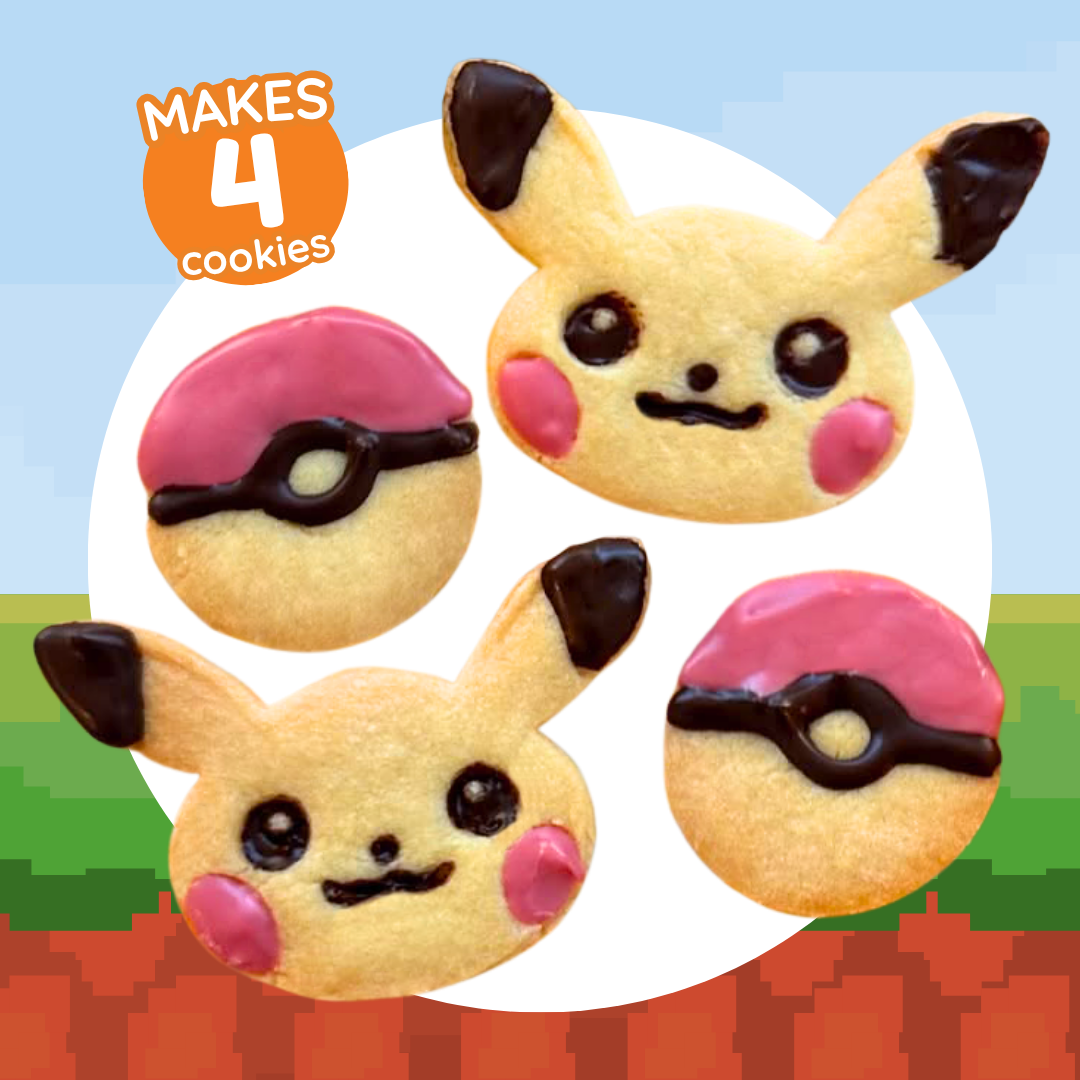
Pikachu Inspired Butter Cookies

Cookie Ingredients

  • 30g butter
  • 26g corn syrup
  • 26g corn flour
  • 44g plain flour 
  • vanilla

Decoration

Ingredients

  • 10g chocolate sauce
  • 10g white chocolate sauce
  • 10g red chocolate sauce

MAKE DOUGH

1) Add butter + corn syrup + 2 drops vanilla in mixing bowl. Mix well.
2) Add corn flour + plain flour in mixing bowl. Mix well then knead on placemat.
 
PREHEAT OVEN 180°
 

SHAPING (on baking paper)

3) Divide dough into 4 balls
4) Flatten doughs 2 doughs to make pokeballs
5) Make the shape of pikachu head using the other 2 doughs
 
BAKE FOR 13 MINS


DECORATE

6) Use chocolate sauce to draw pikachu features and the black strip on pokeball
7) Use red chocolate sauce to draw the red cheeks and red part of pokeball
8) Highlight the eyes using white chocolate sauce

November Knead to Know Newsletter

On this un-bear-ably cute edition of Knead to Know News, we’re baking November filled with cozy bear-themed fun, warmth, and delightfully delicious moments! Wishing you a season filled with sweet treats and big bear hugs of happy memories.

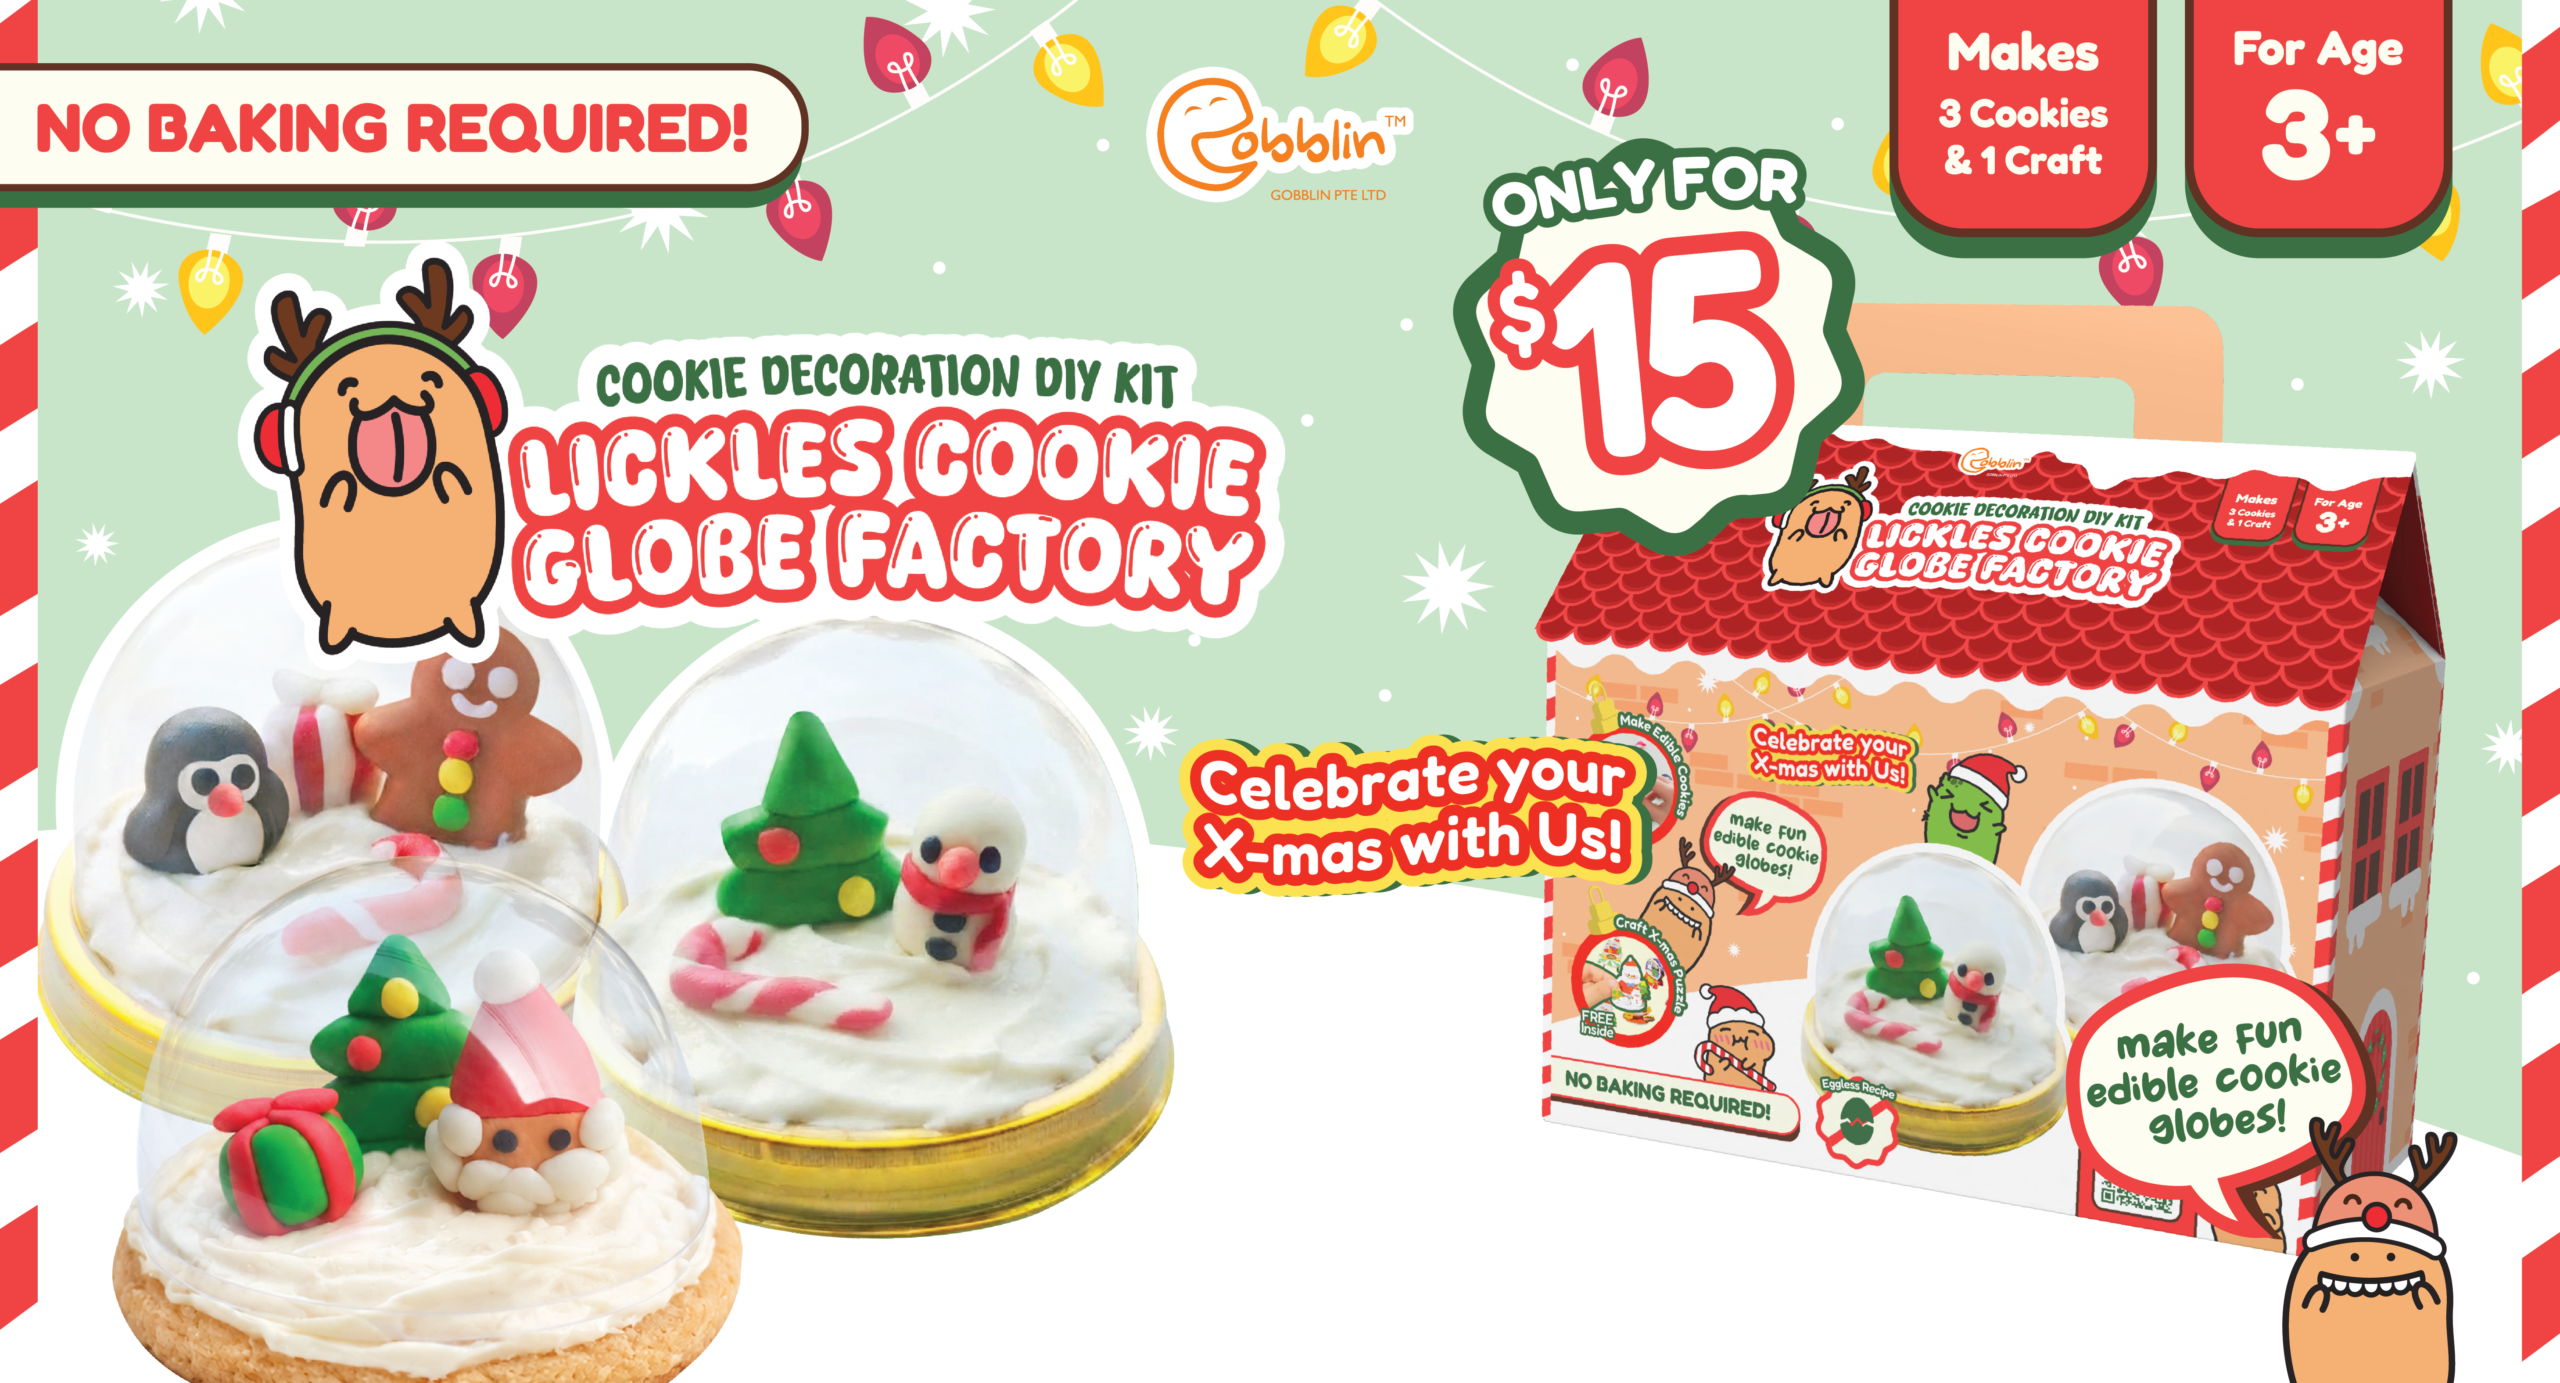
This month, we’re embarking on a fur-tastic lineup of activities! Unbox the fun with our new x-mas non-bake cookie DIY Kit, celebrate the Festival of Lights with our special Deepavali class, and join our year-end holiday camp classes for some paws-on kitchen magic!

Breaking News!

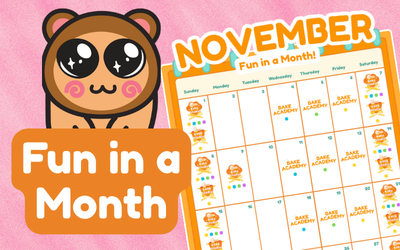
Monthly Calendar

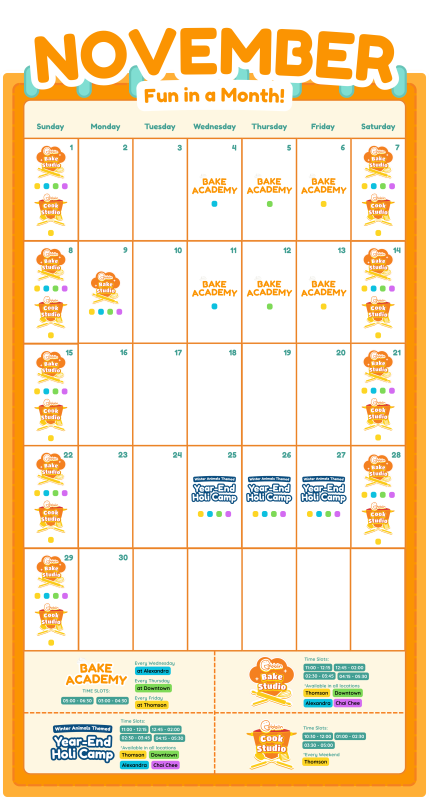
Something exciting awaits every week, check out this month’s lineup!

See Calendar

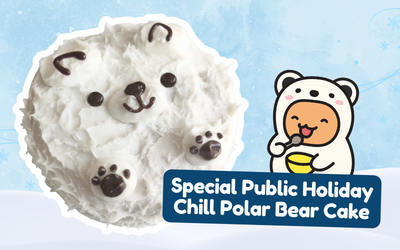
Holiday Special!

Celebrate Deepavali with a special baking class!

Available in all outlets: 9 November

Book now!

Holi Camp Special

The kitchen is turning into a winter wonderland, from frosty little friends to adorable edible creations!

Read me!

Meet Pipette!

Hosting this month issue of the knead to know series is… Pipette!

Pipette says...

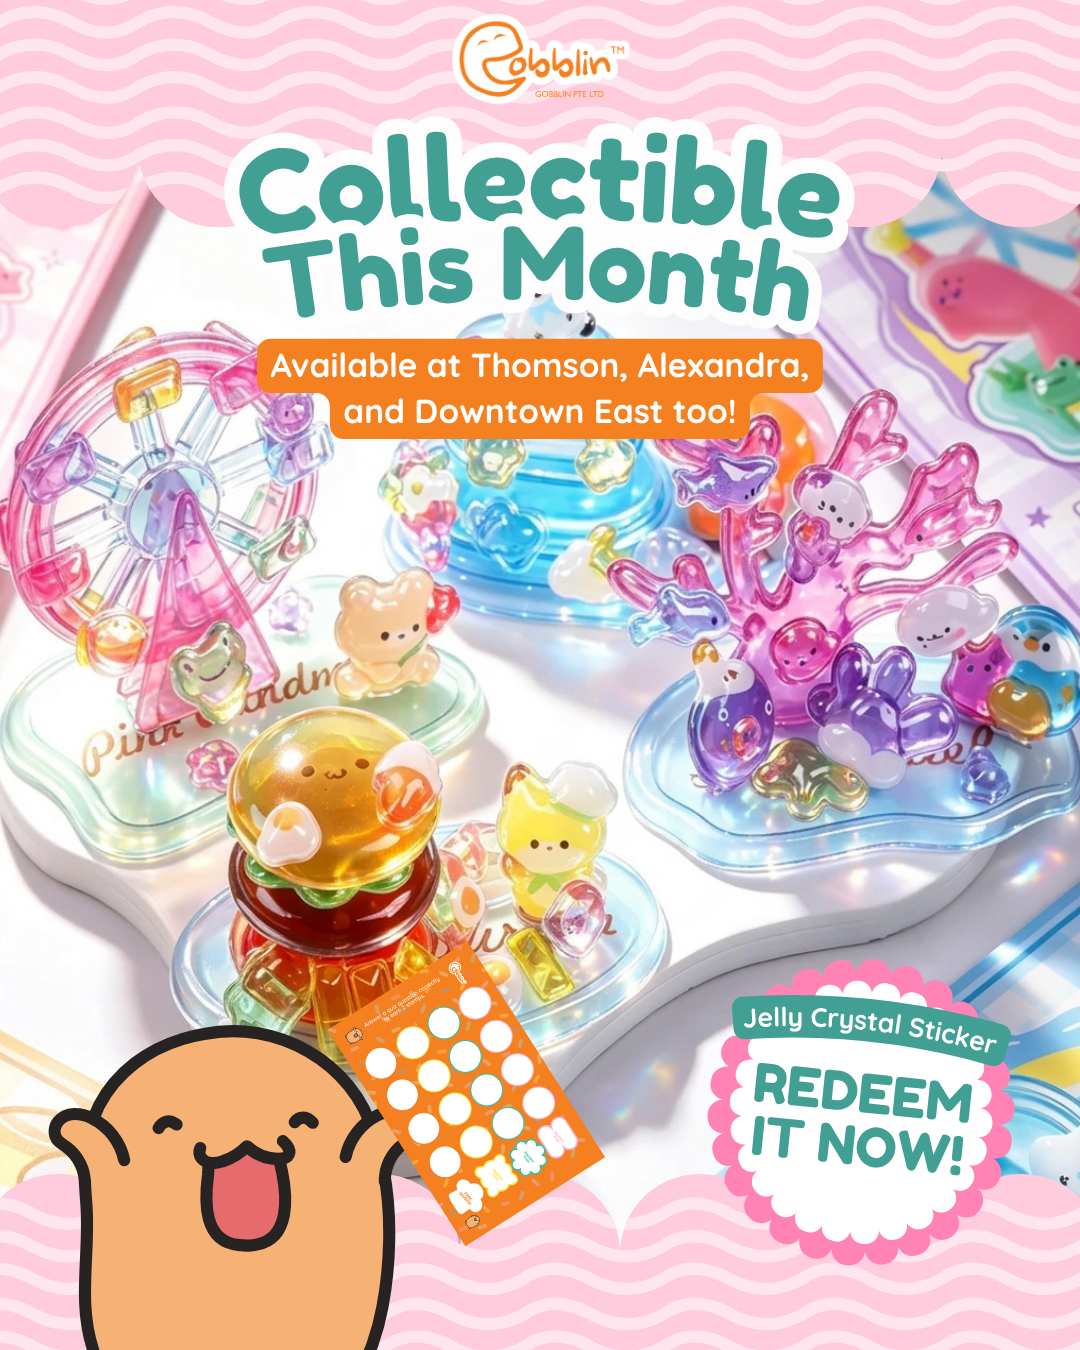
The Gift this Month!

Answer a quiz in one of our class and collect 5 stamps to exchange for a special gift!

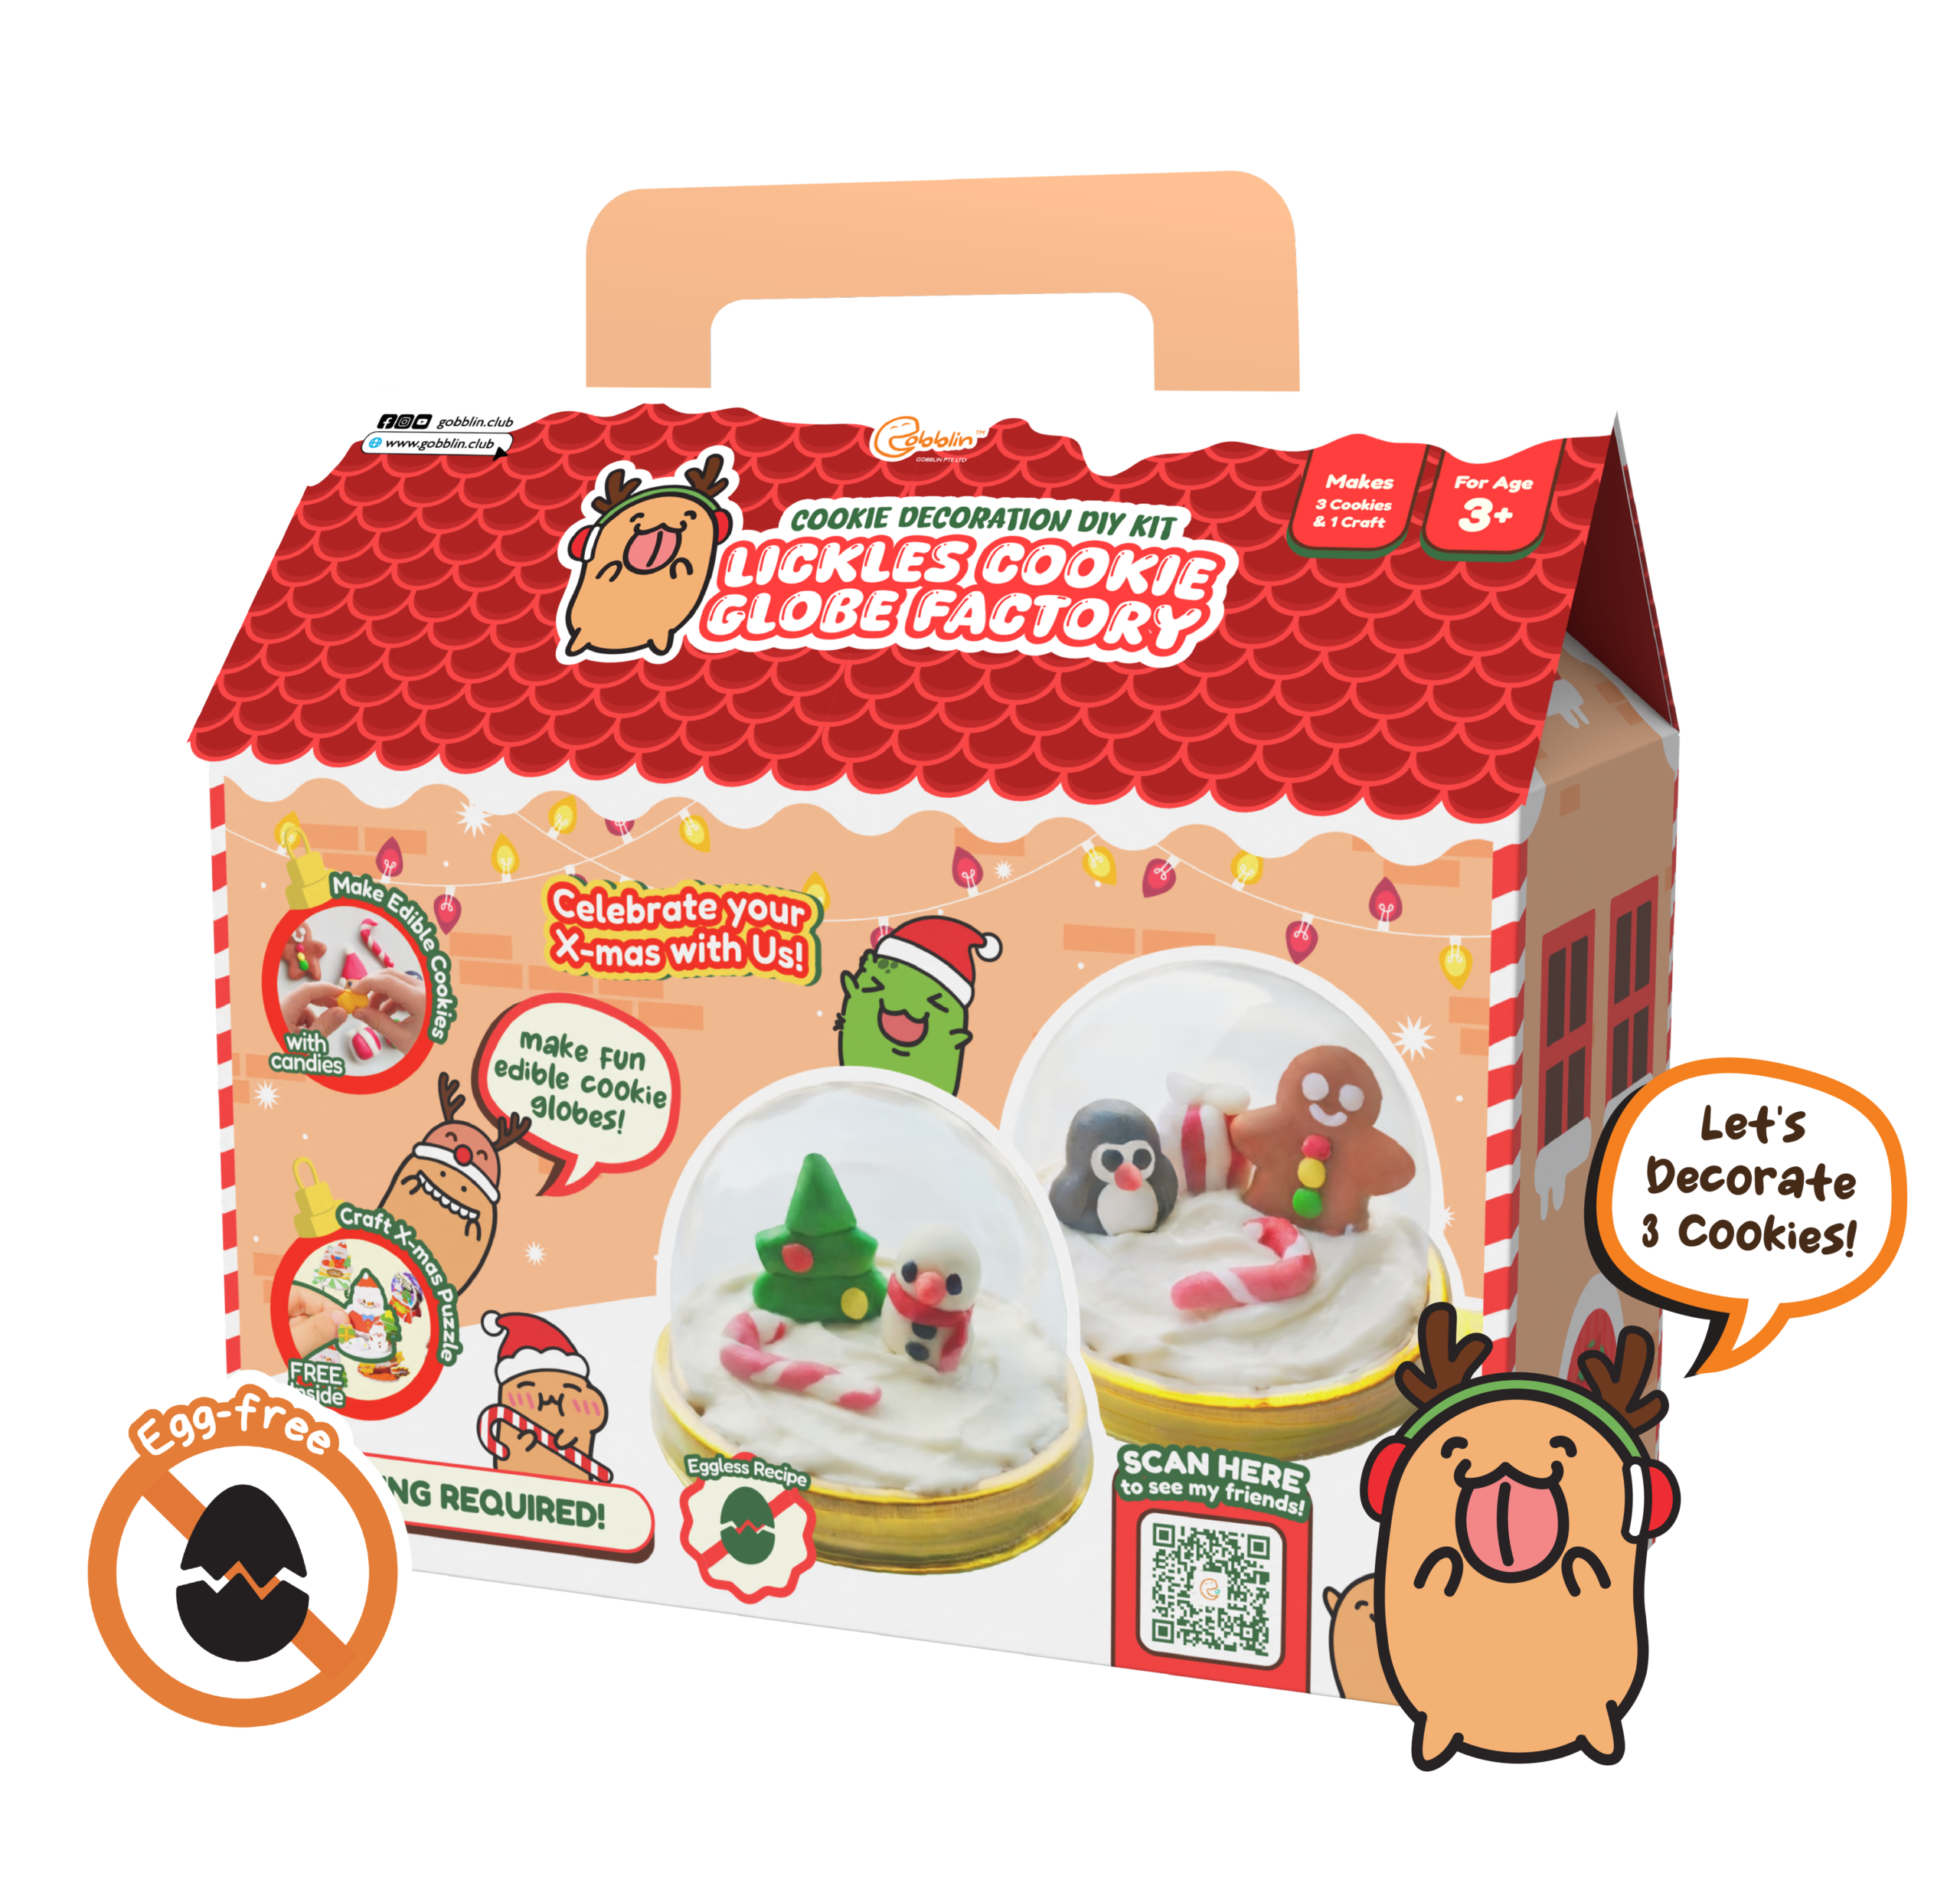
NEW X-MAS DIY KIT!

Lickles Cookie Globe Factory!

*Please note this is a pre-order period. Fulfilment of orders will start from 15th November 2026.

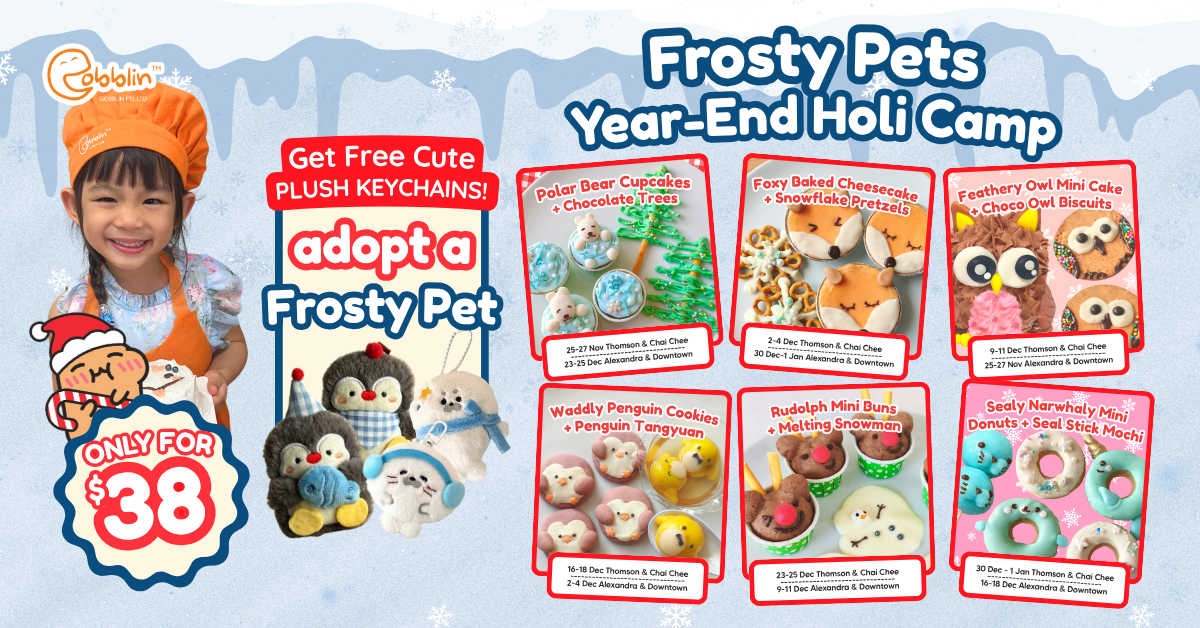
Make and Adopt Frosty Pets!

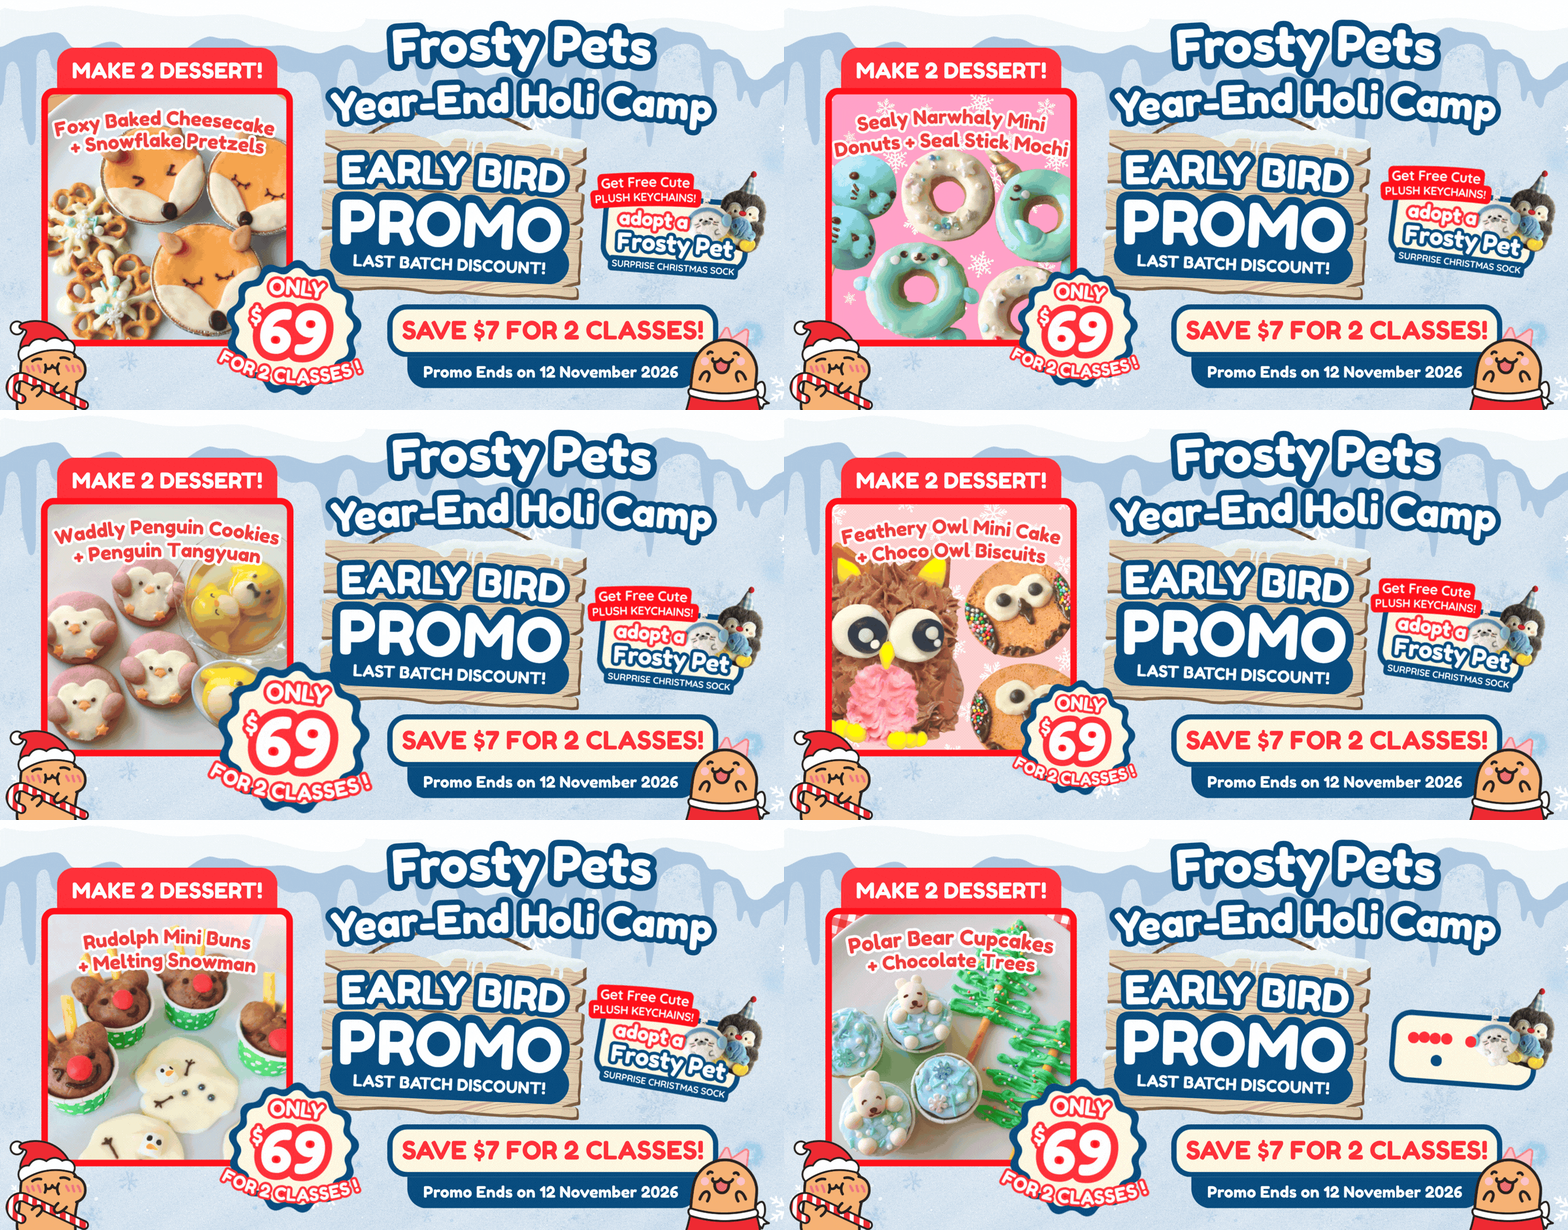
Spend the year-end holiday with a special time filled with fun baking inspired and themed from frosty pets! From narwhals to penguins, get to bake 2 delicious dessert in 1 class. And also adopt a special frosty pet for FREE on every class package purchase!

Make 2 Bakes in 1 Class & ADOPT a Frosty Pets!

Psst… there’s a little surprise on each class package you book. Adopt your very own frosty pet plush keychain to take home!

🎟️ 2 classes for just $69!
That’s $7 in savings! 
⏰ Hurry! Early Bird Promo ends 12 November 2026!

Book a Class Now!

Bake & Adopt
Frosty Pets!

Don’t miss out on special themed classes about frosty pets.

Get to Bake & Adopt;

  • Polar Bear Cupcakes + Chocolate Sticks
  • Foxy Baked Cheesecake + Snowflake Pretzels
  • Feathery Owl Mini Cake + Choco Owl Biscuits
  • Waddly Penguin Cookies + Penguin Tangyuan
  • Rudolph Mini Buns + Melting Snowman
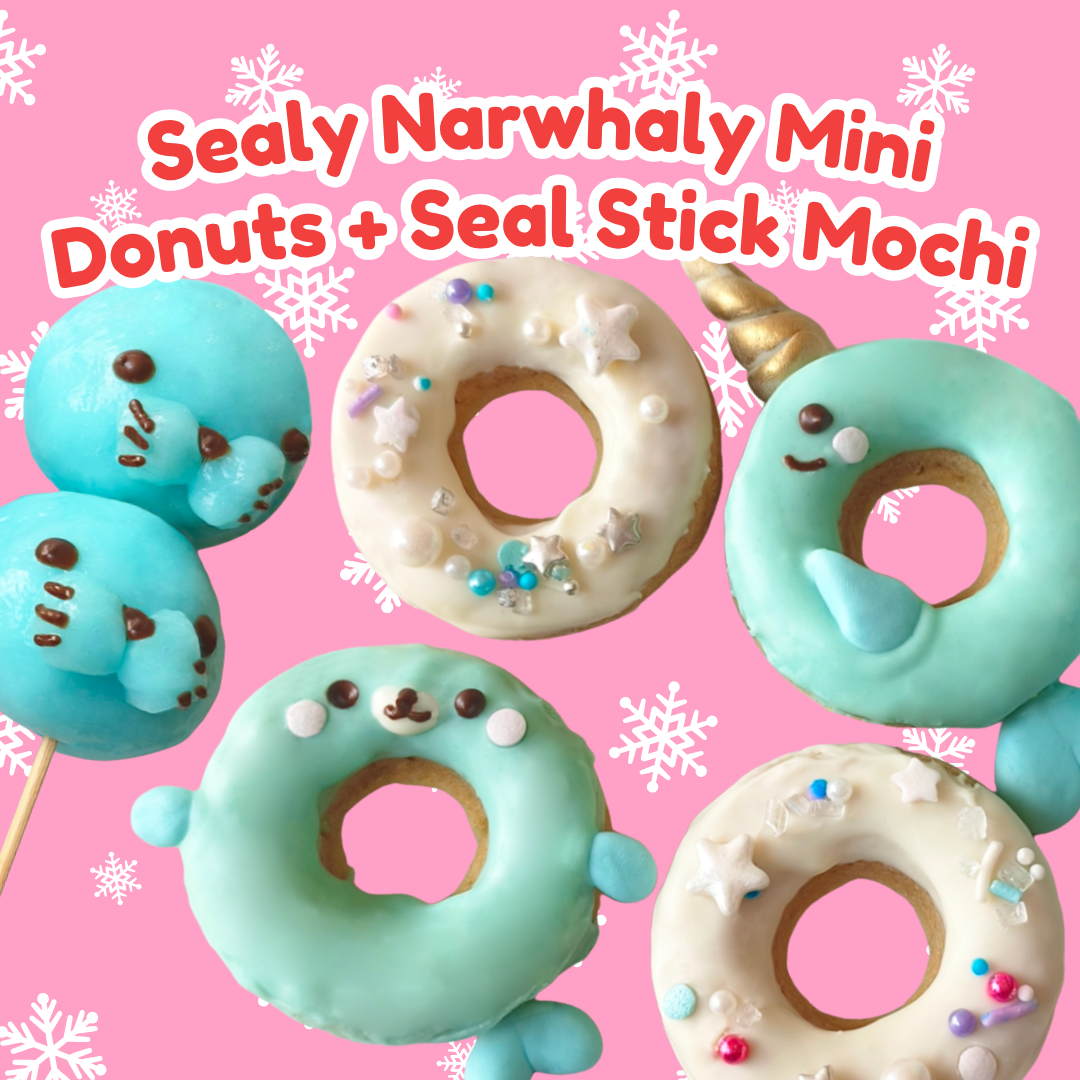
  • Sealy Narwhaly Mini Donuts + Seal Stick Mochi

November Calendar!

Discover everything we’ve got lined up for the month

Hosting our fifth issue of the Knead to Know series is… Pipette! She might be tiny and shy, but on rare occasions she smiles, a rare and adorable one, the whole kitchen lightens up!

This month, we’re going on a delicious adventure to explore one of the world’s most irresistible treats… chocolate! Here at Gobblin Club, we love melting, molding, and shaping all the different cocoa creations, from silky smooth milk chocolate and deep dark cocoa to creamy, sweet white chocolate and crunchy nut fillings!

Did you know? Chocolate has been loved and celebrated for hundreds of years, originating as a treasured treat shared during special gatherings and celebrations! Its comforting sweetness brings people together. That means every delicious taste is extra special when you share it with someone you love!

Hosting our fifth issue of the Knead to Know series is… Pipette! She might be tiny and shy, but on rare occasions she smiles, a rare and adorable one, the whole kitchen lightens up!

This month, we’re going on a delicious adventure to explore one of the world’s most irresistible treats… chocolate! Here at Gobblin Club, we love melting, molding, and shaping all the different cocoa creations, from silky smooth milk chocolate and deep dark cocoa to creamy, sweet white chocolate and crunchy nut fillings!

Did you know? Chocolate has been loved and celebrated for hundreds of years, originating as a treasured treat shared during special gatherings and celebrations! Its comforting sweetness brings people together. That means every delicious taste is extra special when you share it with someone you love!

Sealy Narwhaly Mini Donuts + Seal Stick Mochis

Donut Ingredients

  • 2g egg replacer powder
  • 20g sugar
  • 20g oil
  • 2g vanilla
  • 40g flour
  • 1.5g baking powder
  • 30g blue compound chocolate
  • 30g white compound chocolate
  • 3g sprinkles
  • 1.5g dot sprinkles
  • 5g chocolate sauce
  • 5g white fondant
  • 5g blue fondant
  • edible gold dust

Mochi Ingredients

  • 30g mochi powder
  • 5g dark chocolate sauce
  • skewer
  • blue food coloring
PREHEAT OVEN 180°
 

MAKE  BATTER

1) Add sugar + egg replacer powder + 30ml water into mixing bowl. Mix well.
2) Add oil + vanilla into mixing bowl. Mix well.
3) Add flour + baking powder into mixing bowl. Mix well.
4) Transfer batter into piping bag, cut the tip, then pour into 4 donut molds equally.
 
BAKE FOR 15 MINS
 

MAKE MOCHI

5) Mochi powder + 45ml water + 2 drops yellow dye in cup. Mix.
6) Wear gloves, stretch the mochi to knead until smooth.
7) Divide mochi into 2, take small amount for the whisker pads
8) Shape mochi into 2 balls then stick the whisker pads.
9) Skewer the mochis then draw the face using chocolate sauce
 

MAKE FONDANT

10) Make seal and narwhal features using blue fondant
11) Divide white fondant into 2 5cm strips, twist 2 strips making cone shape.
12) Use finger to dab gold dust on the surface of the white fondant
 

ASSEMBLY


13) Pour MELTED compound into 2 round liners
14) Dip the donuts on one side to coat with compound chocolate
15) Arrange the seal and narwhal fondants on blue donuts, and sprinkles on white donuts
16) Draw the faces using chocolate sauce
17) Use rainbow dot sprinkles as the blushes